This post may contain affiliate links. Please read our disclosure policy.
Crispy, pan-seared Italian Chicken Thighs? Say less. I have a weakness for tender meat, crispy skin, and plenty of hearty spices. Combine that with a one pan recipe with a minimum of effort involved, and I’m never going to stop raving about this chicken.
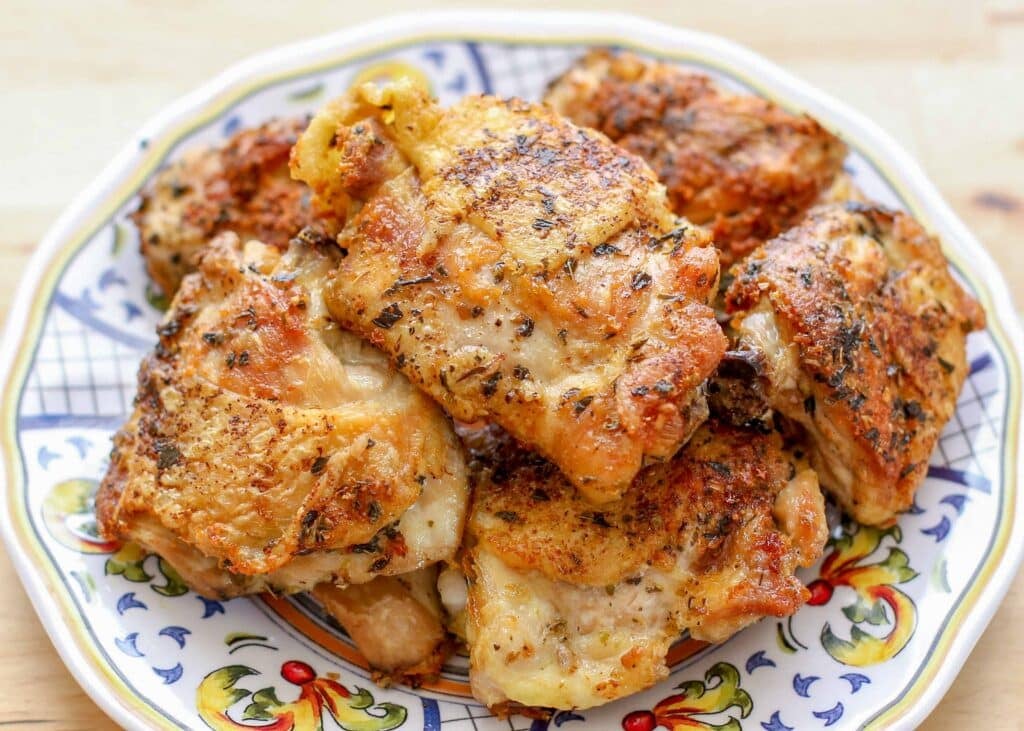
There’s so much to love about these Italian chicken thighs. They capture the glorious texture of my favorite pan fried chicken thighs, with way less oil required. It’s been several years, and these thighs are still one of my family’s go-to dinners.
Italian Chicken Thighs

Whether I’m throwing together dinner at the last-minute or just looking for something simple to cook, one of the things I love most about this recipe is how quick and simple it is to prep. There is no need to marinate the meat, simply sprinkle each thigh with seasonings and drop it in the pan. All of those glorious flavors will be absorbed as the meat cooks.
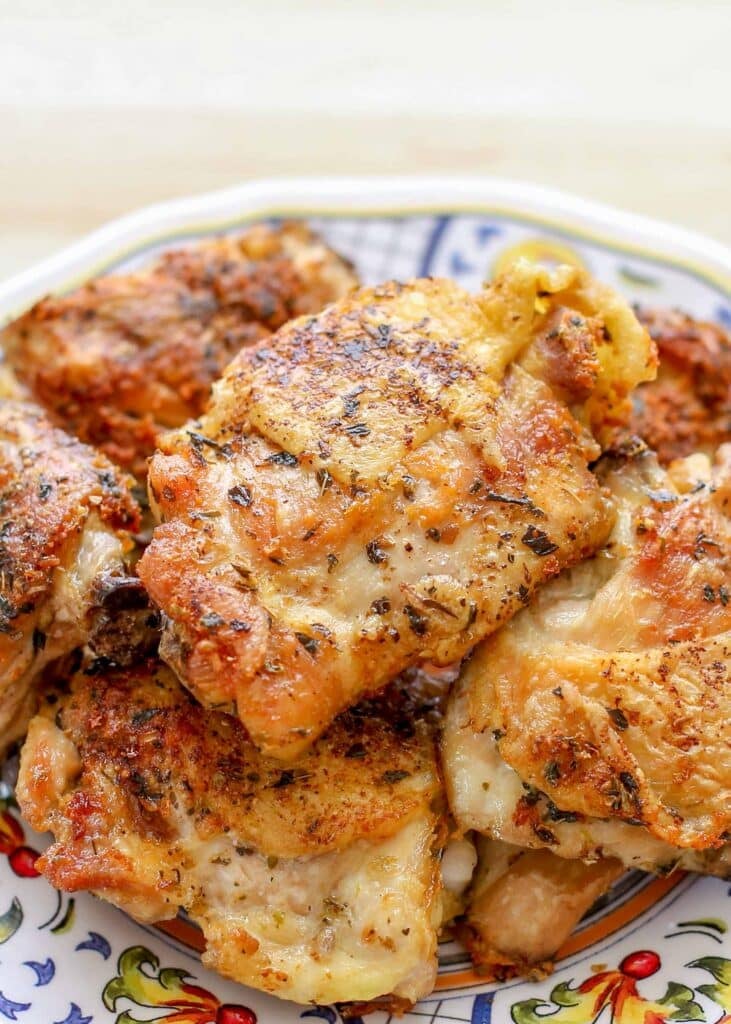
This is one of my favorite chicken recipes. The skin is wonderfully crispy, and it takes very little effort to make. Honestly, the most challenging part of making this dinner is waiting while it cooks.
Ingredients and Substitutions
Chicken Thighs – I use bone-in, skin-on chicken thighs in this recipe. There is no substitution here. Boneless, skinless chicken thighs will not cook the same way.
Olive Oil – You’ll want to use a light-flavored regular olive oil, not extra virgin, or another neutral tasting oil with a high smoke point.
Seasonings – I like the blend of classic flavors that garlic powder and Italian seasoning adds to the chicken. In this recipe, I also add some extra oregano and basil, leaning into a more earthy flavor profile.
Salt & Pepper – I always use kosher salt and freshly ground black pepper in my recipes.
Notes on Equipment
- Measuring spoons
- Small bowl
- Large skillet – I adore this stainless steel pan. It doubles beautifully as a serving dish without a long handle to get in the way at the table.
- Tongs
- Meat thermometer
- Splatter guard – This is a MUST for me when making this chicken. It dramatically cuts down the greasy mess around the stove.
How to Make Italian Chicken Thighs
Measuring Spices: I add the salt, pepper, garlic powder, oregano, basil, and Italian seasoning to a small bowl, then mix them together.
Warming the Oil: You’ll want to warm the oil in a large stainless or cast-iron skillet over medium heat.
Preparing the Chicken: While the oil heats up, I generously sprinkle the chicken with the seasonings so that each thigh is evenly coated.
Cooking: I place the chicken thighs in the pan, skin side down. You’re going to want to let them cook until the skin is brown and crispy, usually about 20-25 minutes.
Turning the Chicken: Turn the thighs over and let them cook for about 20 more minutes.
Serving – I rest the thighs for 5-10 minutes before serving.
Oh. My. Gosh! These are wonderful! The only way I want to cook chicken thighs now. So easy and delicious! Thanks again for a wonderful recipe!
Expert Tip
One of the trickiest parts of making pan seared Italian chicken thighs is rendering the fat properly. You can’t rush the process. If the heat is too high, the skin will brown before the fat can melt away. And, you’ll miss out on that lovely crisp texture. I always start these thighs in a fully preheated pan, letting them cook without touching them for a solid 20 minutes. The steady sizzle will tell you that the fat is slowly rendering, which is exactly what you want. Patience here pays off in the form of deeply golden, evenly crisp skin.
Pat it Dry – Use some paper towels to make sure that the chicken is as dry as you can get it before you season each thigh. Dry skin is the key to getting a deep, crispy sear.
Season Well – Be generous with the spices. Use your hands to rub the spices all over each piece of chicken.
Don’t Pry – If the chicken sticks, let it sit. This is the only complaint I have ever received among the many rave reviews on this recipe. Cooking meat in a stainless steel pan means that the chicken will stick until the fat renders and the crust has formed. Be patient! The thighs will literally just slide around the pan by the time they’re ready to turn over.
Serving Suggestions
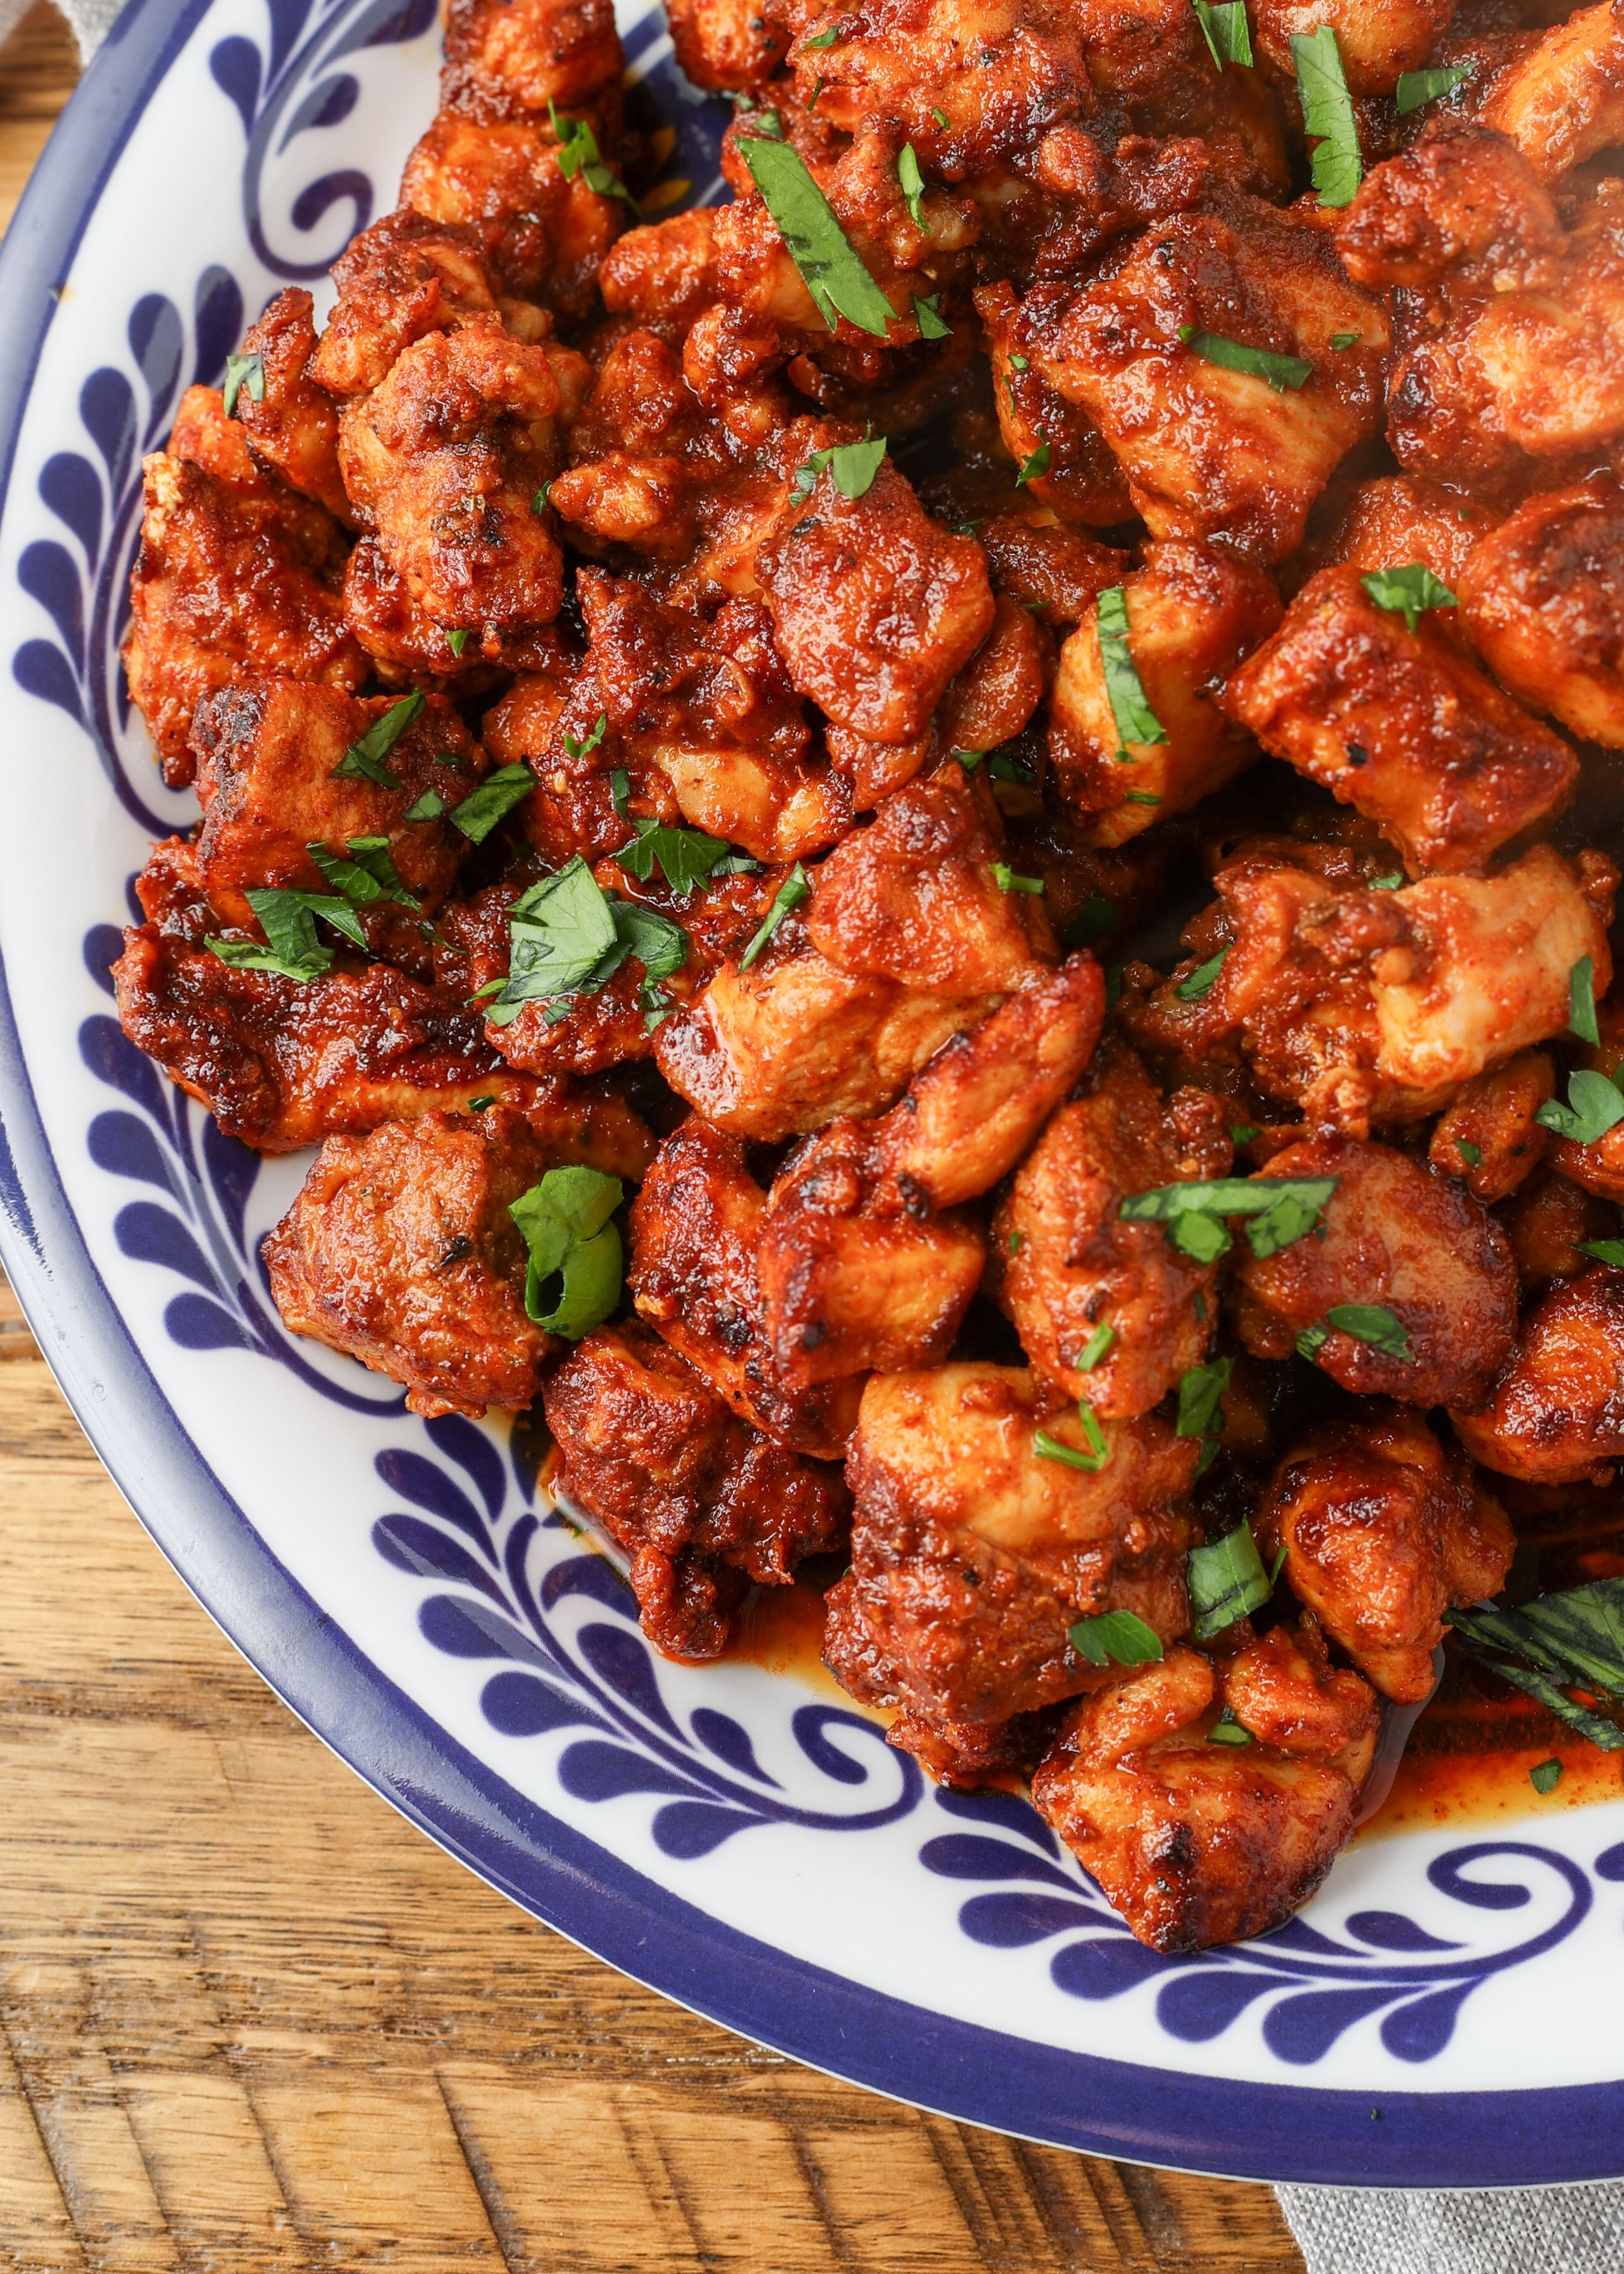
These Italian chicken thighs are the star of the show, but they shine with a supporting cast. A bright, herby dish like Italian potato salad fits perfectly with the same flavor profile. And, hasselback potatoes bring a crispy, buttery element that mirrors that golden chicken skin.
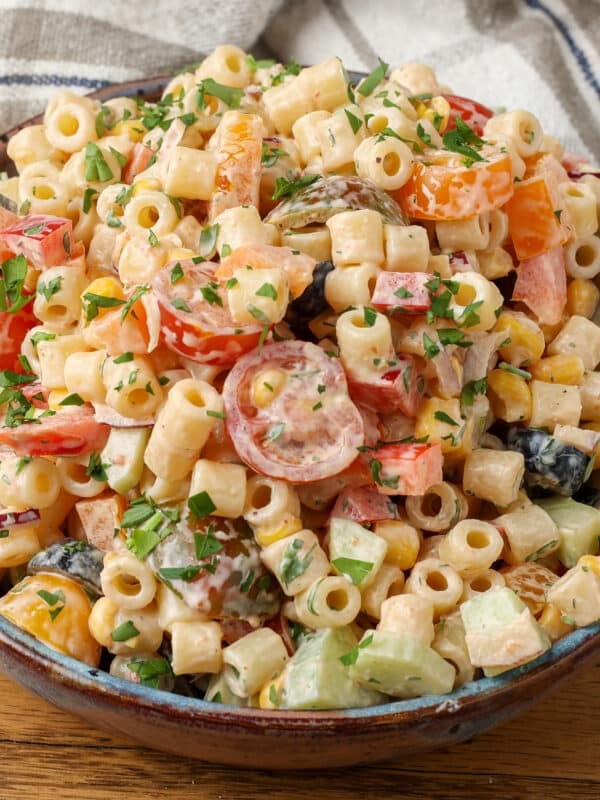
If I’m in the mood for something a little lighter but still hearty, this spinach pasta salad rounds out the plate beautifully. But, I also want to be very transparent. I’m not above eating this chicken by itself, straight out of the pan.

Make Ahead & Storage
How to Store: I store any leftover chicken thighs in an airtight container in the fridge for up to 3 days.
How to Reheat: I usually just reheat my leftovers in the microwave, in a microwave-safe dish, for 1-2 minutes. But, you can use the air fryer or the oven to refresh some of the crispy textures, too!
More Chicken Thigh Recipes
- Grilled Chicken Thighs
- Baked Italian Chicken
- Oven Baked Boneless Chicken Thighs
- Last Minute Chicken Thighs
Frequently Asked Questions
The short, honest answer is yes. Non-stick is more approachable than stainless steel. But, this is recipe for Italian chicken thighs requires a stainless steel pan in order to work properly. Non-stick pans are not as effective at getting the kind of crispy results you want with these thighs. Don’t be intimidated, though! Stainless steel pans are just going to be one more notch in your apron once you master using them.
The chicken should have crispy, golden-brown skin on the bottom before you flip it. And, it should not stick to the pan, but slide free easily.
If you’re still a bit nervous, testing the internal temperature with a meat thermometer will help you rest assured. (The desired temperature is 175°F for chicken thighs.)
The most common culprit is moisture. If the skin isn’t patted completely dry, the excess water will steam the meat instead of letting it sear. And, overcrowding the pan creates the same problem. So, make sure that the chicken has space around it.

Italian Chicken Thighs
Ingredients
- 1 tablespoon coconut oil or light flavored olive oil
- 1½ pounds bone-in chicken thighs depending on size (4 large pieces fill my skillet)
- ½ teaspoon kosher salt
- ¼ teaspoon freshly ground black pepper
- ¼ teaspoon granulated garlic or garlic powder
- 1 teaspoon Italian seasoning
- ½ teaspoon dried oregano
- ½ teaspoon dried basil
Instructions
- Set the chicken thighs on a large sheet pan or cutting board and generously sprinkle the skin side of the chicken thighs with half of all the spices. Turn the chicken over and sprinkle the other side of each thigh with the remaining seasonings.
- Warm the oil in a large stainless or cast-iron skillet over medium heat. (A heavy non-stick skillet will work as well, although it isn't required.) Place the chicken in the hot skillet, skin side down.
- Allow the chicken thighs to cook uncovered (though I HIGHLY recommend this splatter guard !), without moving them, for about 20-25 minutes. Let them cook until the fat has rendered and the skin is deep golden brown and crisp; this could take as long as 30 minutes before turning the chicken over.
- If the skin is sticking to the pan, it likely isn't finished on that side. Reduce the heat as needed if the skin starts to burn before it is evenly golden brown.
- Turn the thighs over and continue to cook for about 20 more minutes. When the meat closest to the bone is cooked through, the chicken is done.
Notes
Nutrition
Nutrition information is automatically calculated, so should only be used as an approximation.
{originally published 7/14/14 – notes and photos updated 3/11/26}


The chicken turns out incredibly juicy with a crisp skin every time I make this! We love it. Thank you!!!
This is one of my favorite chicken recipes, it comes out perfect every time. My family loves it as well. Thank you!
I sorta love the smell. I will be hungry until it goes away! 🙂
What exactly does the bowl of vinegar do? I know its not for the recipe, but does it just eliminate odors? Thanks.
Yes, the small bowl of vinegar reduces the lingering fried chicken odor. I hope that helps!
So I guess this could work for bacon smells, too!?
This was absolutely delish! I have never had my 6 year keep asking me for more and more at dinner…he had 4 servings!!!! He loved the chicken. I did tweak things a little bit: pulled the bones out of thighs and the skin; also used chicken breasts; added steak seasoning (Montreal brand); omitted herbs de provence because I don't have that. I just eyeballed the spices and amount. I mixed up some spices in a small bowl. I sprayed the pan with cooking spray and used a little bit of extra virgin olive oil. I rubbed both sides with the seasoning and I had to make up the seasoning 3 times to get all my chicken covered.
This recipe was GREAT.
What is herbs de Provence??
It's a blend of herbs that was originally from Provence. Typically, marjoram, thyme, rosemary, oregano, and sometimes lavender leaves and other herbs. I've also made this simply with an Italian seasoning blend and it works beautifully that way!
What temperature would you suggest starting the chicken at? Seems like it's a slow fry, so closer to low?
I usually work with it around medium heat, but lower works as well. It depends on your stove really. I'd start around medium and reduce it slightly if the chicken is cooking faster than described in the recipe. I hope that helps!
what measurements on the spices?
I had skinned and boned organic chicken thighs and seasoned with salt, pepper, a bit of dried thyme and rosemary and cooked in a melted mixture of organic unrefined coconut oil and organic unsalted butter. I was delighted with the flavour! I cook in stainless steel and never use a nonstick pan as the chemicals can leach into food.
I made an all Pinterest meal tonight. Even my picky 11 year old son loved the chicken and asked me what seasonings were on it! I used boneless, skinless chicken breasts because that is what I had and they worked great. The color on them was beautiful!
I made these on Sunday for dinner and they turned out fantastic!
I made this recipe tonight and absolutely love it! So much so I’m writing this comment as I’m eating it! Perfect crisp and flavor of the chicken skin, and the chicken is moist. So delicious! Instead of herbs de Provence, I used Italian seasoning. I think I added a tad too much salt but overall I’m very pleased with how it came out. Definitely will make this again!
I used a cast iron skillet with medium heat and it burns in 15 minutes, skin came out black! So recommend low heat
My cast iron pans retain more heat than my tri-ply stainless. I’m tempted to start with low heat on my stainless, as I just don’t trust myself not to burn the thighs if I’m not standing over the pan. Thanks for sharing, John–fore-waned is fore-armed. 🙂
Hi, what kind of oil should I use? I used olive oil and my chicken was burnt. I should have used an oil with a high smoking point, should have known better.
I typically use refined coconut (it’s odorless) or light olive oil.
What is herb de Provence?
Looks delicious and very simple.