This post may contain affiliate links. Please read our disclosure policy.
The most popular question I’ve ever received on this website is whether you can make ice cream without a machine.
The answer is YES. You can make ice cream without a machine.

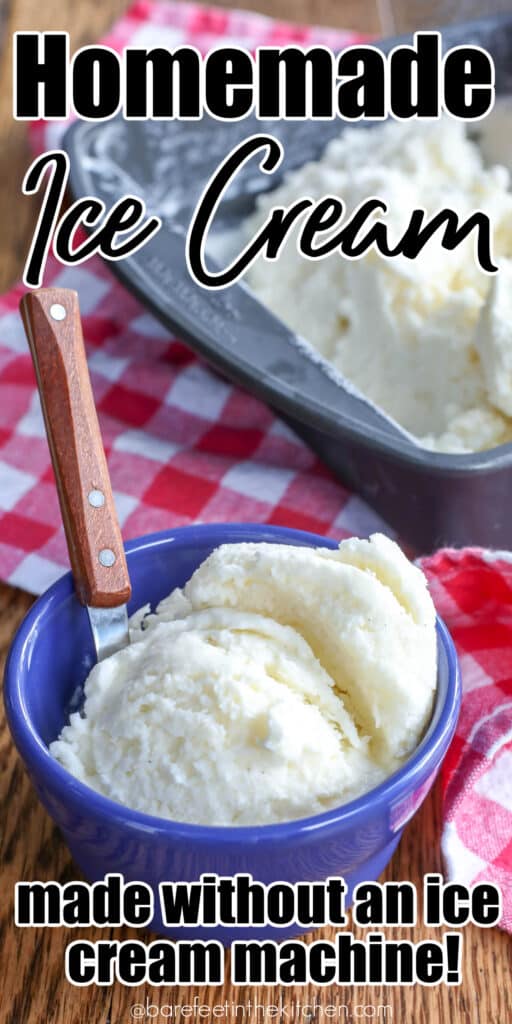
Homemade Ice Cream Without A Machine
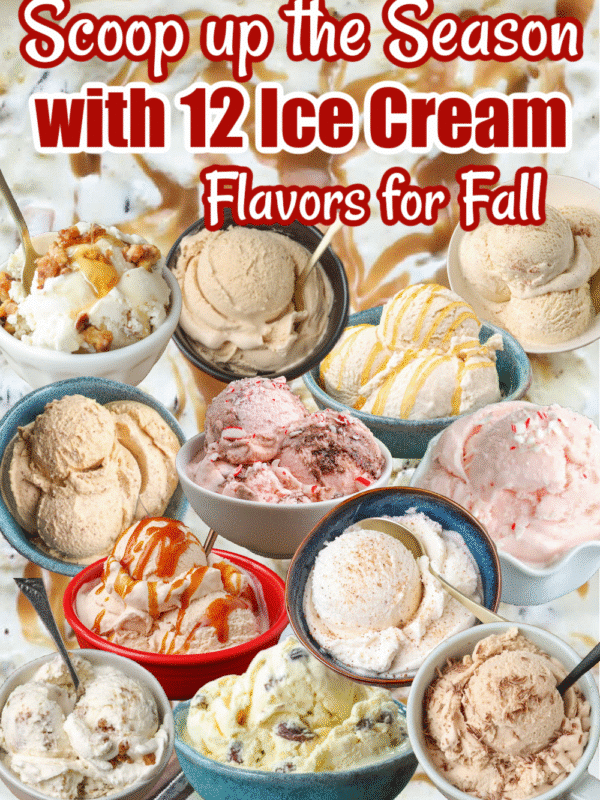
With 70+ ice cream recipes to choose from, that question comes up a few times a week, if not daily through the warmer months.
While I’ve described this method repeatedly in comments and emails through the years, it was past time to shoot some step-by-step photos and explain in detail in one post that can be easily referred back to.

Besides, who would ever turn down the chance to make some more ice cream, right?
There are a LOT of photos provided here to illustrate what the ice cream should look like at each step of the process.
If you aren’t here for the full tutorial, make use of that handy “Jump To Recipe” button at the top of the page.
How To Make Ice Cream Without An Ice Cream Maker
Stir together your ice cream mixture and chill it if it isn’t cold already. Pour it into an 8-10 inch square baking dish.
I typically use this metal pan (because it freezes so quickly) however a glass pan will also work.
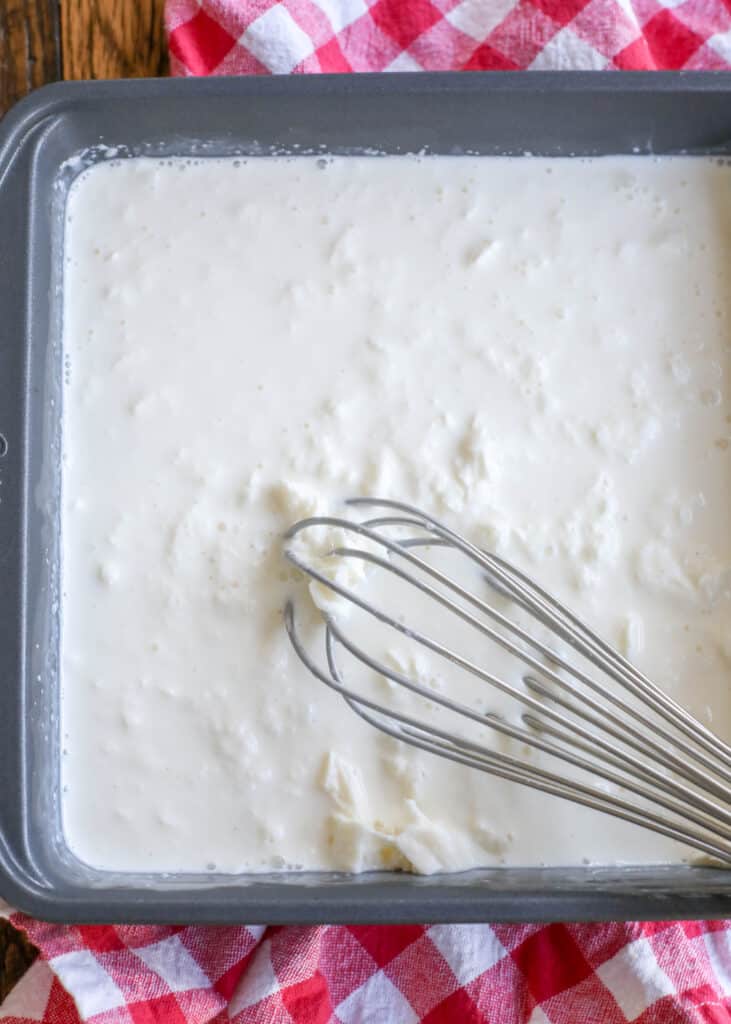
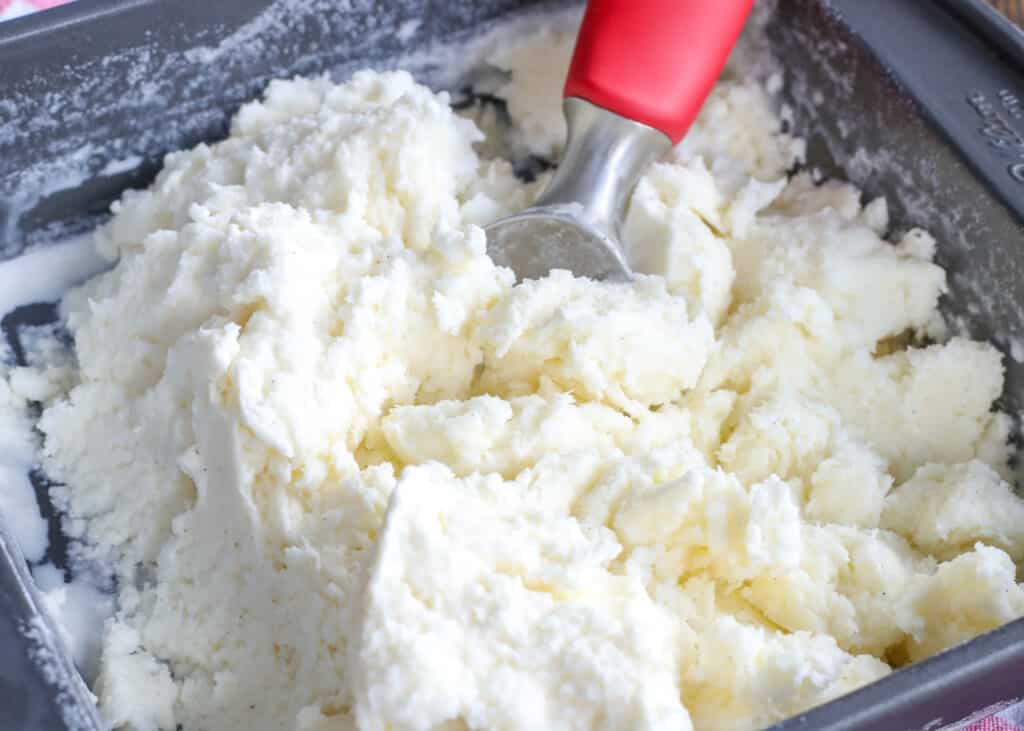
Place it in the freezer for 90 minutes. Remove from the freezer and whisk the mixture, scraping the sides of the pan and breaking up any frozen chunks.
Return the pan to the freezer.
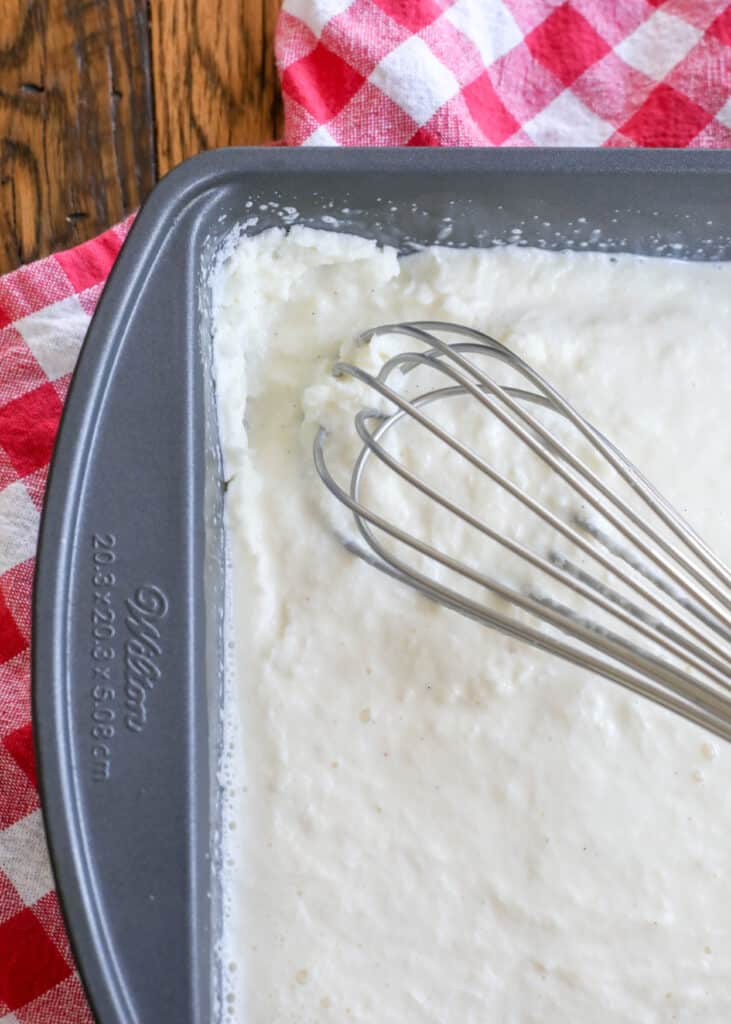
Continue freezing the mixture, checking it again after 45 minutes.
Remove from the freezer and whisk the mixture again, scraping the sides of the pan well. Use a sturdy whisk to whip the mixture a bit as it begins to freeze.
Make sure you’re scraping the edges completely every time. Return to the freezer as quickly as possible after whisking the mixture.
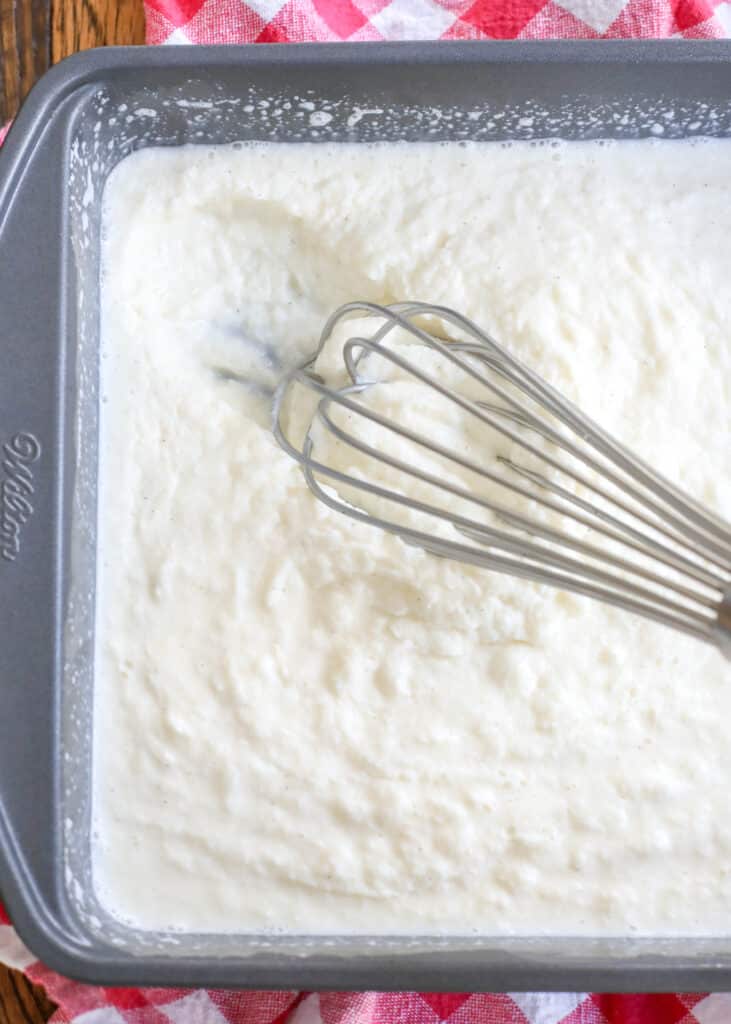
Continue freezing the mixture, checking it again after 30 minutes.
Remove from the freezer and whisk the mixture, scraping the sides of the pan well. I use a sturdy whisk to whip the mixture a bit as it begins to freeze.
Make sure you’re scraping the edges completely every time. Return to the freezer as quickly as possible after whisking the mixture.
Repeat this process 2 more times, every 30 minutes.
After a couple of hours, it should begin thickening to a slushy soft-serve consistency.
You can continue breaking it up and stirring for as long as you like.
The longer that you whisk the ice cream and continue breaking it up as it freezes, it will create an airier or fluffier final product.
Ice cream made without an ice cream maker typically takes 3-4 hours to freeze to a soft-serve consistency.
Once it reaches that stage, you can serve it or cover it with a lid and return to the freeze until firm and scoopable.
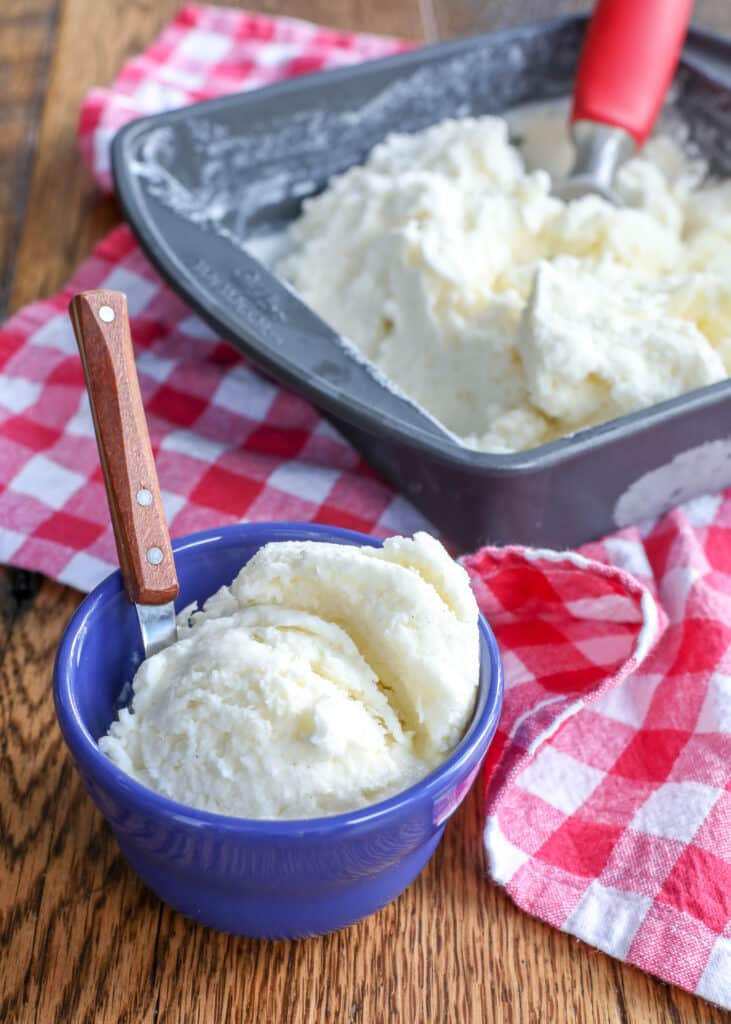
Just a note: Ice cream made without a machine will freeze to a very firm consistency after a day or so in the freezer. However, it will thaw nicely at room temperature after 10-15 minutes and will be perfectly scoop-able.
Once you’ve made ice cream this way a few times, you’ll have a feel for how long it should take and how often it needs to be stirred.
I’ve provided the best and easiest ice cream recipe in this post. This is the recipe that gets solid five-star reviews from everyone who tries it. It’s as easy as can be and absolutely delicious.
However, there are countless variations you can make and additional ice cream recipes to try once you’ve mastered the freezer method for making ice cream.
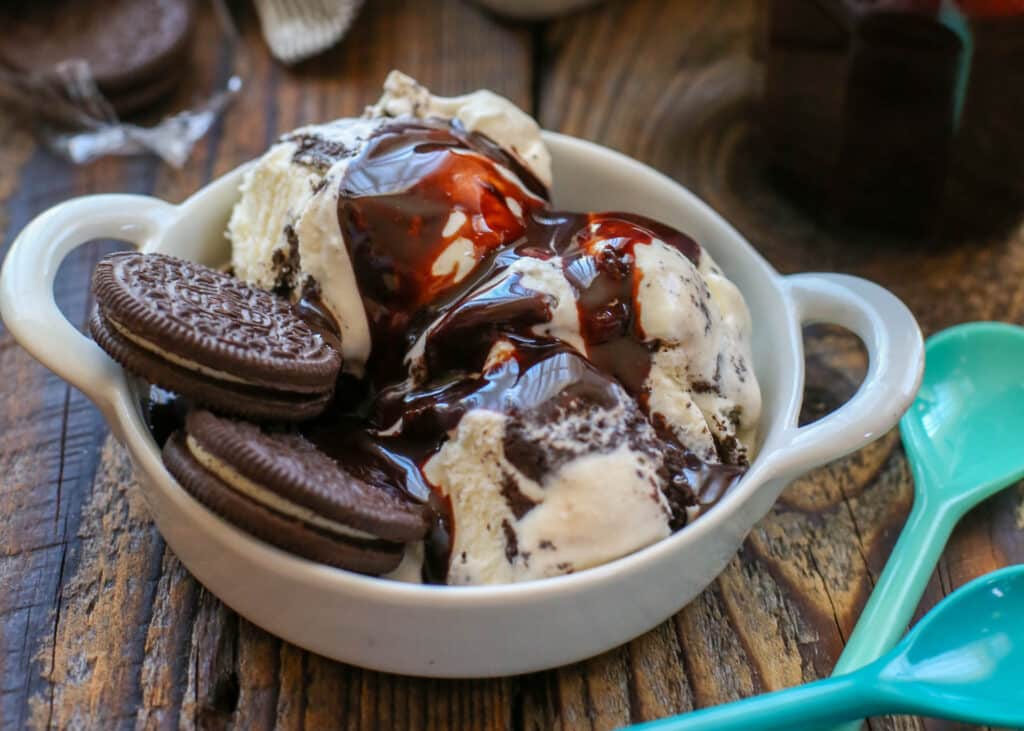
Adding in a generous pile of chopped Oreos and some warm Chocolate Sauce will deliver the best Cookies and Cream Ice Cream you’ve ever tasted.
If you’re a fan of Reese’s peanut butter cups, this Chocolate Peanut Butter Ice Cream might be your new favorite.
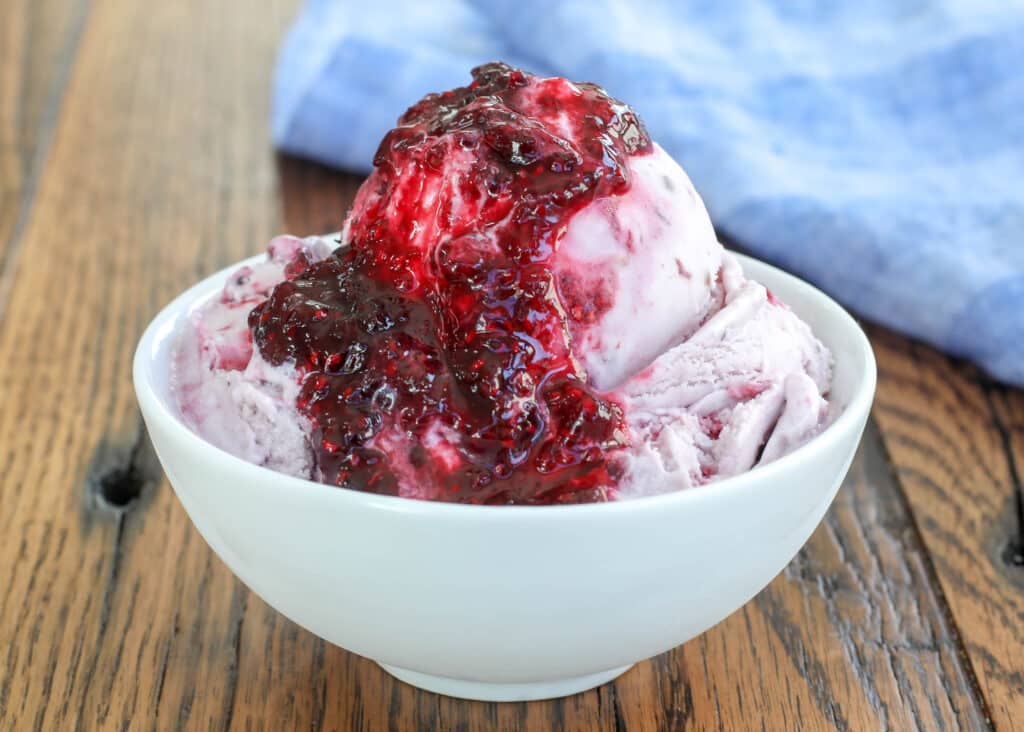
Are you a fan of fruit-filled ice cream? Mixed Berry Ice Cream is incredible and it’s made even more fantastic with warm Berry Sauce poured on top.
If after making your first batch of homemade ice cream without a machine, you love the ice cream but don’t want to spend your time whisking it in the future, check out the Ultimate Ice Cream Maker Review.
Some of the best machines I tested might be less pricey than you think!

How To Make Ice Cream Without A Machine
Ingredients
- 1½ cups milk
- 1½ cups heavy cream
- ⅔ cup sugar
- 1 tablespoon vanilla extract
- ⅛ teaspoon kosher salt
Instructions
- Stir together your ice cream mixture and pour it into an 8-10 inch square baking pan.
- FIRST FREEZE: Place it in the freezer for 90 minutes. Remove from the freezer and whisk the mixture, scraping the sides of the pan and breaking up any frozen chunks. Return the pan to the freezer and continue freezing.
- SECOND FREEZE: Check it again after 45 minutes. Remove from the freezer and whisk the mixture, scraping the sides of the pan well. Use a sturdy whisk to whip the mixture a bit as it begins to freeze. Make sure you're scraping the edges completely every time. Return to the freezer as quickly as possible after whisking the mixture each time.
- ADDITIONAL FREEZING STEPS: Continue freezing the mixture, checking it again after 30 minutes. Remove from the freezer and whisk the mixture, scraping the sides of the pan well. Use a sturdy whisk to whip the mixture a bit as it begins to freeze. Make sure you're scraping the edges completely every time. Return to the freezer as quickly as possible after whisking the mixture. Repeat this process 2 more times, every 30 minutes. After a couple of hours, it should be thickening to a slushy soft-serve consistency.
- Continue breaking the ice cream up and stirring it for as long as you like. The longer that you whisk the ice cream and continue breaking it up as it freezes, it will create an airier or fluffier final product. Ice cream without a machine typically takes 3-4 hours to freeze to a soft-serve consistency.
Nutrition
Nutrition information is automatically calculated, so should only be used as an approximation.
{originally published 9/30/20 – recipe notes and photos updated 6/20/22}


its so creamy, sweet, and delicious and yet so simple! its genius!
Thank you, Jennifer. It really is that good!
This was made for my granddaughters 10th birthday and everybody was blown away on how good this ice cream was My daughter insisted on making this because it was cheaper than buying the pre-made packages I was a skeptic and very nervous OMG I will never go back to premade packages this was the best ice cream I’ve ever ate. Did not cook it and it was perfect thank you very much highly recommend
I’m so glad everyone enjoyed the ice cream, Teresa! Happy birthday to your granddaughter, and happy cooking!
Please tell us how to make it I read it all and I saw nothing
The full recipe with instructions is listed at the bottom of the post, Alyvia.
🤦🏻♂️ lol
Tried this and it’s amazing and super easy thanks
Thank you, Leah. I am so happy you enjoyed it.
Can you substitute Splenda or another sugar substitute for part or all the sugar ?
Hello, Barbara! While you might be able to substitute Splenda for part of the sugar, I’m not sure how well it would turn out; the sugar substitute might not allow the ice cream to freeze properly. If you do decide to try substituting Splenda in this recipe, let me know how it turns out! Happy cooking.
Can I do this with a stand/hand mixer instead? Would it affect the ice cream’s texture or consistency at all?
You can certainly use a hand mixer on it, Erl, but I’m not sure it’s worth the effort. You’ll only need to whisk it by hand for a moment to break it up each time.
Hey Mary, just wondering if at any point in this process if the consistency would be perfect for a vanilla milkshake?
P.S. Getting the cream tomorrow so I can do this recipe for the ice cream…… looks amazing!
Sure thing, Matthew. You’ll love it.
My ice cream turned out amazing but a little icy – is there something I should do to avoid that?
Hi, Melissa! I would double-check your freezer to make sure something didn’t thaw and refreeze. If that’s safe, you might need slightly more or less liquid in your recipe, or possibly store it closer to the front of the freezer. Enjoy, and happy cooking!
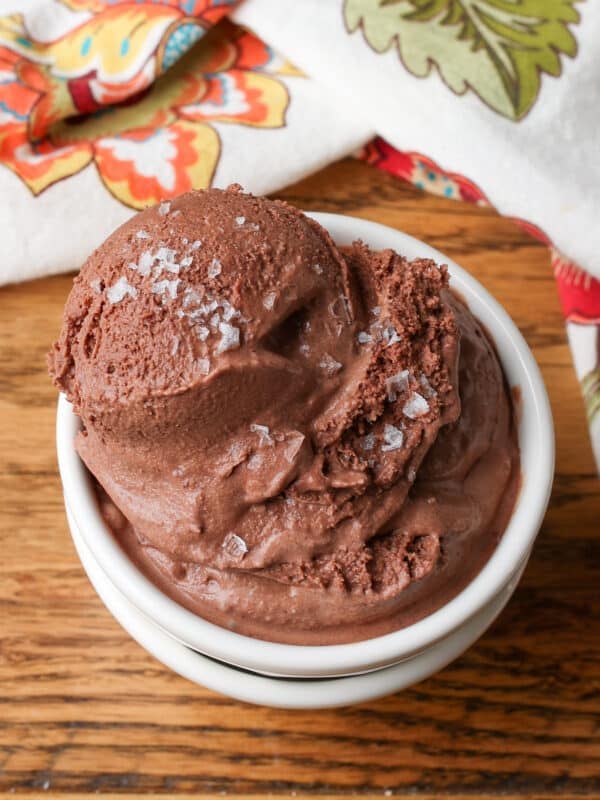
I tried again with a covered pan and it was much less icy. I also extended the time between stirring. I’m loving the salted caramel recipe with this method!! I’m so happy to have found your website.
I’m thrilled you love the ice cream, Melissa!
My 4 year old granddaughter and I had lots of fun making this ice cream. She had lots of plans of what she would put on top: strawberries, blueberries, cookies, chocolate. She was fascinated with watching the pan of liquid freeze up. We all ate it for Independence Day dinner, and she got lots of compliments on her ice cream making ability! Thanks for making it easy for us! PS – she and her little sister had chocolate syrup on theirs!
I’m so glad you and your granddaughter had such a good time making the ice cream, Ruth! I love making ice cream with my niece on the Fourth of July; it’s great to be able to make memories (and tasty desserts!) with family.
I am using this for a school assignment and will give your website credit like required but could you mix in other flavors as well as vanilla or just not use vanilla would it still work.
Hi, Cole! Without vanilla, this recipe wouldn’t be very flavorful, but you could mix in other flavors. I hope your assignment goes well.
I’m going to try this recipe and add tazo chai to make chai tea ice cream…… fingers crossed
Let me know how that works for you, Dawn. If you want to try it, there’s a chai ice cream recipe here: https://barefeetinthekitchen.com/chai-ice-cream/
All recipeBarbs look delicious.
Glad to hear it, Barbara.
So good I can not stop eating it
I’m thrilled you’re enjoying the ice cream, Teagan!
Hi Mary. Can I make this ice cream using 2% milk or is it best to use whole milk? Does it make a difference, or only in taste? Thank you. I can’t wait to try your recipe using this freezer method! I have tried no-churn recipes that called for sweetened condensed milk but cannot stand the taste (way too sweet!) Thanks again!
2% milk will not be quite as creamy, but as long as you’re still using the heavy cream, it will be delicious, Lisa!
Oops! I forgot to ask… can I use your Dark Chocolate Ice Cream recipe to flavor this no-churn ice cream? Or will it not freeze well adding cocoa or other flavors? Thanks so much! oh and btw I love the name of your site/business: Barefeet in the kitchen. So unique, cute and genius!
You can use any ice cream you like to make ice cream using this method without a machine, Lisa. Happy ice cream making!
Hi Mary! I just wanted to ask what I could substitute heavy cream for in this recipe. Would there be a difference in tase texture or both? Thank you. P.s I ❤️❤️❤️❤️ Your recipes sooooooooo much! They are so easy and simple!
While you can certainly make “ice milk” without any cream, it will be icy and won’t be creamy at all without the cream. However, if you’re trying to avoid dairy, you can use coconut milk and coconut cream.
Very helpful.
Happy ice cream making, Kristen!
So easy, and tastes great! I make it in smaller quantities, and then it takes much less time to freeze.
I’m thrilled you like it!
Would honey work as well? any idea how much to use? Thanks for the recipe.
Using honey in ice cream will slightly alter the results. You can, however, make a honey ice cream by simmering the base and slightly increasing the cream content. https://barefeetinthekitchen.com/honey-ice-cream/
Can I use half and half with heavy cream instead of milk? Thank you!
That should work fine, Haley. The ice cream will be a bit richer that way.
I used skim milk and layered in leftover ginger bread and sugar Christmas cookies. Swirled some chocolate sauce in as well. I used a cuisinart Ice cream maker for the base ice cream. My search is over. This is my go to recipe. I’ll just modify with other additions based on my mood. Thank you!!
That sounds great and I’m so glad you’re enjoying the ice cream recipes!