This post may contain affiliate links. Please read our disclosure policy.
The most popular question I’ve ever received on this website is whether you can make ice cream without a machine.
The answer is YES. You can make ice cream without a machine.

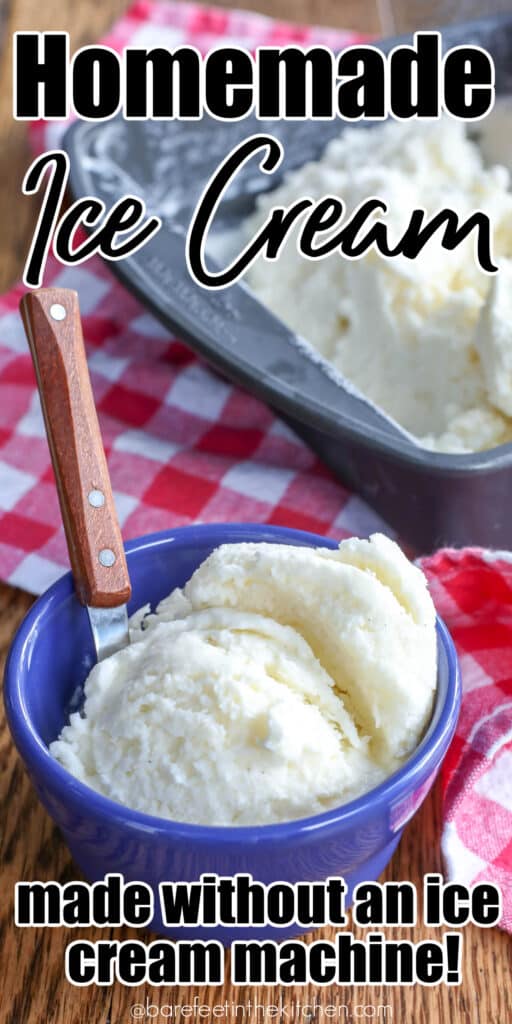
Homemade Ice Cream Without A Machine
With 70+ ice cream recipes to choose from, that question comes up a few times a week, if not daily through the warmer months.
While I’ve described this method repeatedly in comments and emails through the years, it was past time to shoot some step-by-step photos and explain in detail in one post that can be easily referred back to.

Besides, who would ever turn down the chance to make some more ice cream, right?
There are a LOT of photos provided here to illustrate what the ice cream should look like at each step of the process.
If you aren’t here for the full tutorial, make use of that handy “Jump To Recipe” button at the top of the page.
How To Make Ice Cream Without An Ice Cream Maker
Stir together your ice cream mixture and chill it if it isn’t cold already. Pour it into an 8-10 inch square baking dish.
I typically use this metal pan (because it freezes so quickly) however a glass pan will also work.
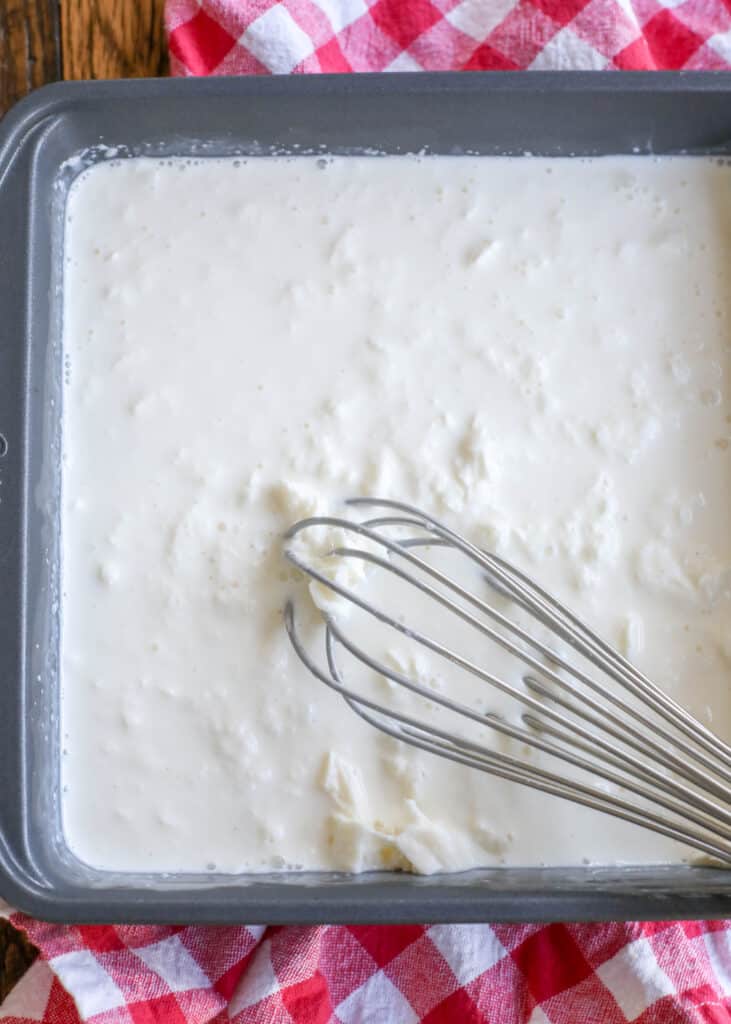
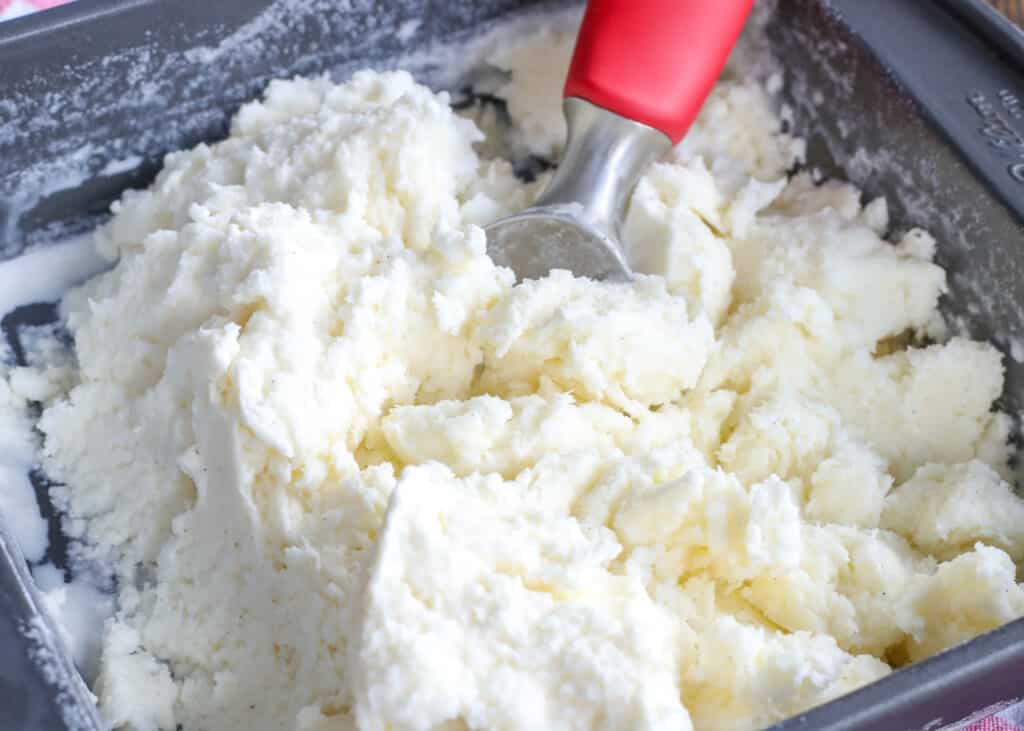
Place it in the freezer for 90 minutes. Remove from the freezer and whisk the mixture, scraping the sides of the pan and breaking up any frozen chunks.
Return the pan to the freezer.
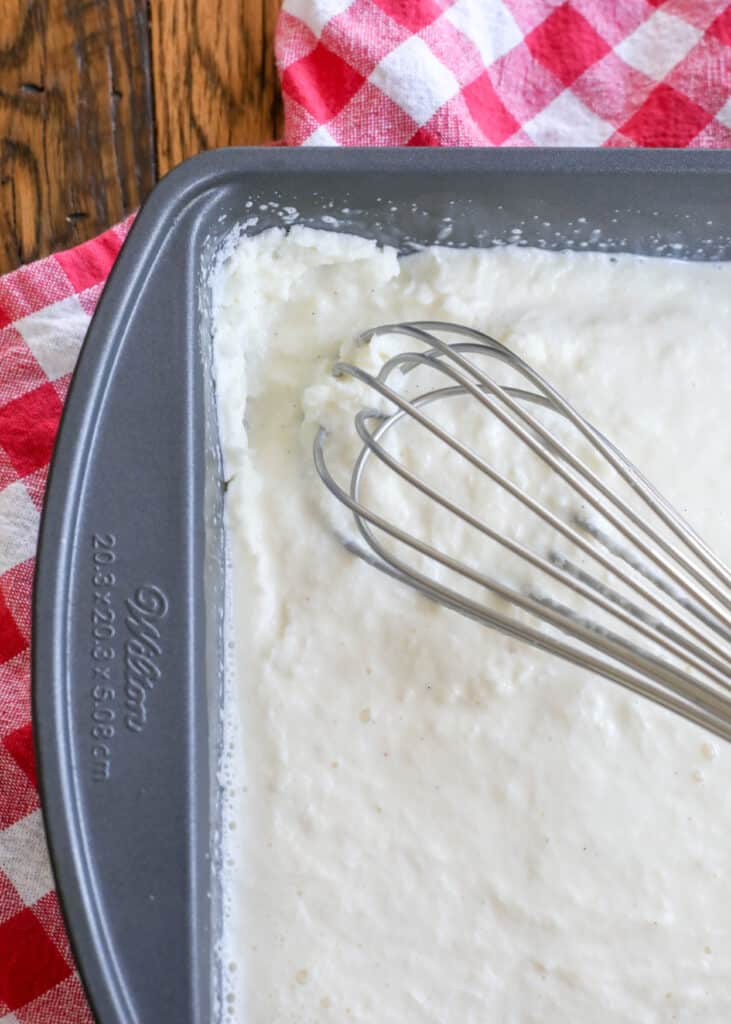
Continue freezing the mixture, checking it again after 45 minutes.
Remove from the freezer and whisk the mixture again, scraping the sides of the pan well. Use a sturdy whisk to whip the mixture a bit as it begins to freeze.
Make sure you’re scraping the edges completely every time. Return to the freezer as quickly as possible after whisking the mixture.
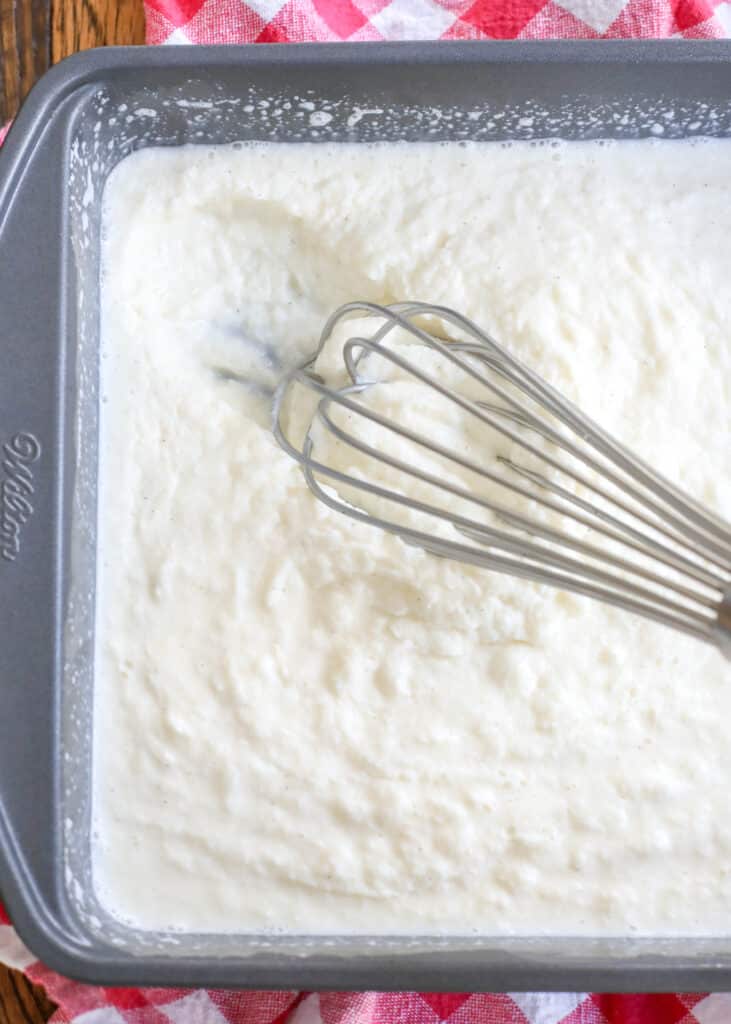
Continue freezing the mixture, checking it again after 30 minutes.
Remove from the freezer and whisk the mixture, scraping the sides of the pan well. I use a sturdy whisk to whip the mixture a bit as it begins to freeze.
Make sure you’re scraping the edges completely every time. Return to the freezer as quickly as possible after whisking the mixture.
Repeat this process 2 more times, every 30 minutes.
After a couple of hours, it should begin thickening to a slushy soft-serve consistency.
You can continue breaking it up and stirring for as long as you like.
The longer that you whisk the ice cream and continue breaking it up as it freezes, it will create an airier or fluffier final product.
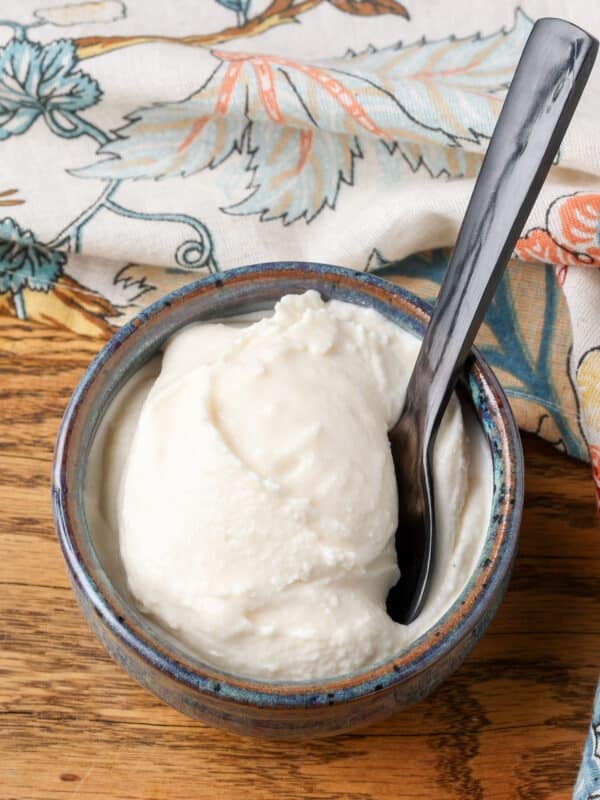
Ice cream made without an ice cream maker typically takes 3-4 hours to freeze to a soft-serve consistency.
Once it reaches that stage, you can serve it or cover it with a lid and return to the freeze until firm and scoopable.
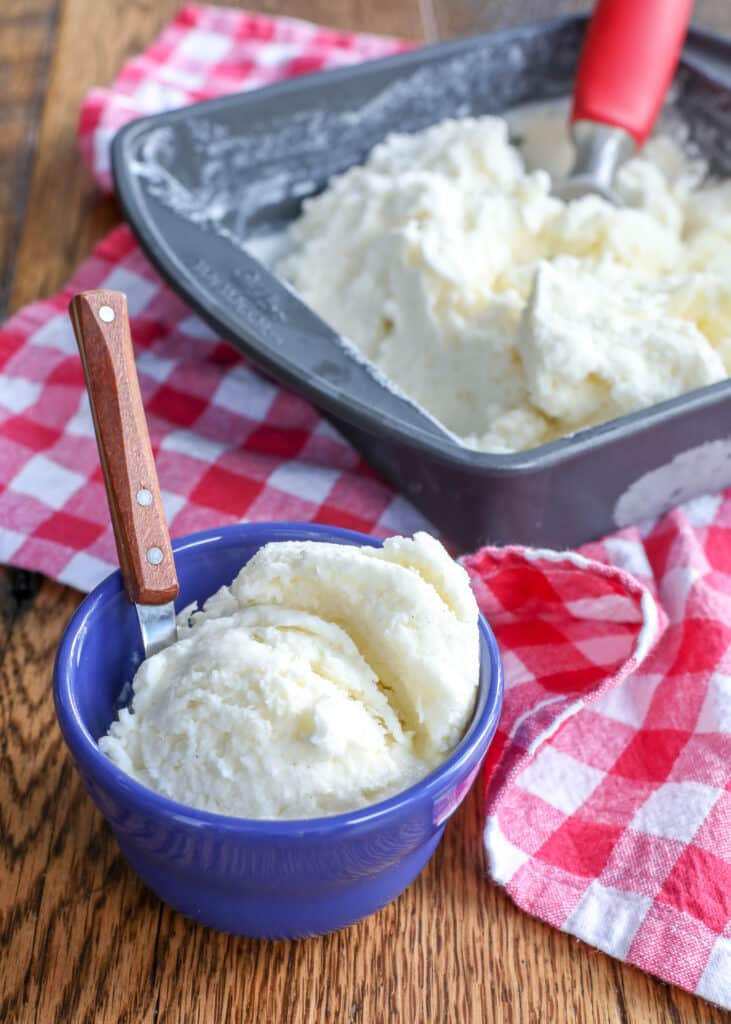
Just a note: Ice cream made without a machine will freeze to a very firm consistency after a day or so in the freezer. However, it will thaw nicely at room temperature after 10-15 minutes and will be perfectly scoop-able.
Once you’ve made ice cream this way a few times, you’ll have a feel for how long it should take and how often it needs to be stirred.
I’ve provided the best and easiest ice cream recipe in this post. This is the recipe that gets solid five-star reviews from everyone who tries it. It’s as easy as can be and absolutely delicious.
However, there are countless variations you can make and additional ice cream recipes to try once you’ve mastered the freezer method for making ice cream.
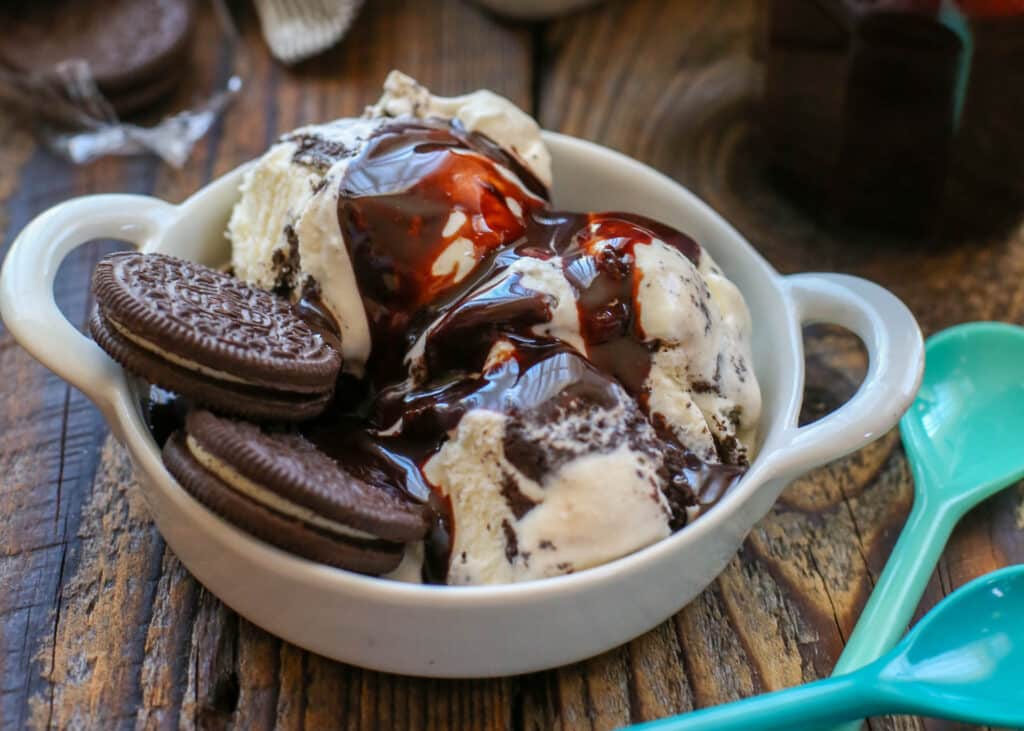
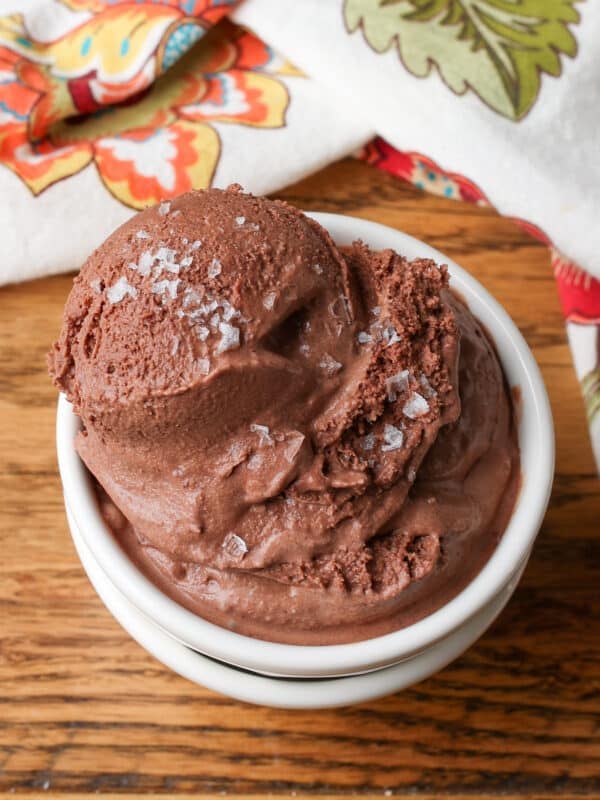
Adding in a generous pile of chopped Oreos and some warm Chocolate Sauce will deliver the best Cookies and Cream Ice Cream you’ve ever tasted.
If you’re a fan of Reese’s peanut butter cups, this Chocolate Peanut Butter Ice Cream might be your new favorite.
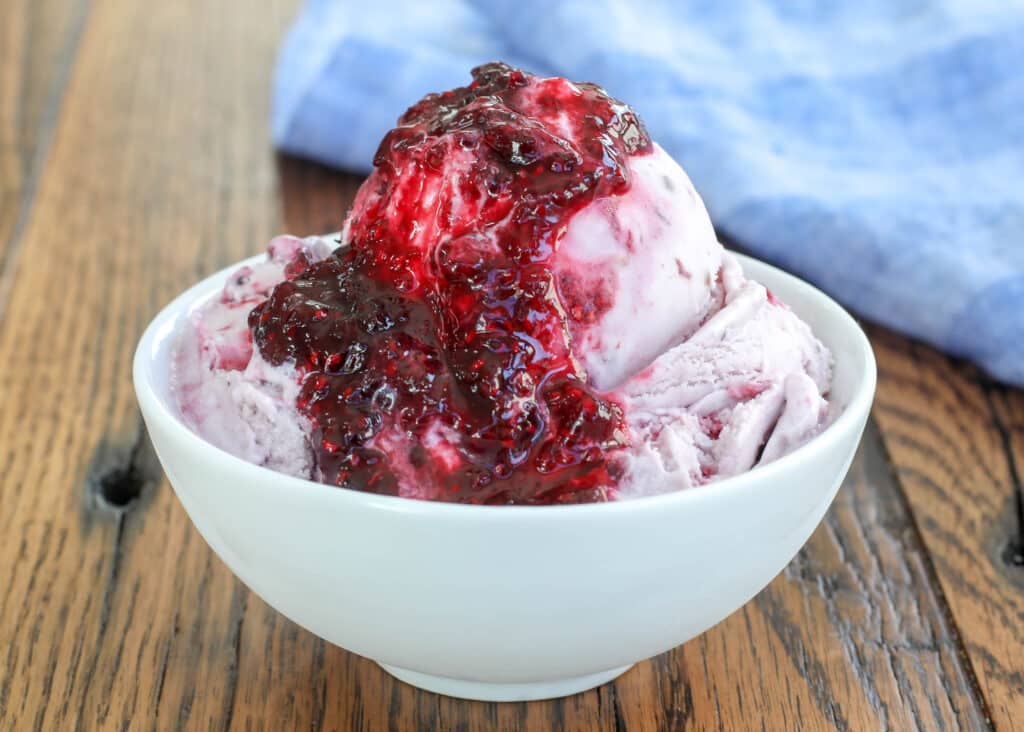
Are you a fan of fruit-filled ice cream? Mixed Berry Ice Cream is incredible and it’s made even more fantastic with warm Berry Sauce poured on top.
If after making your first batch of homemade ice cream without a machine, you love the ice cream but don’t want to spend your time whisking it in the future, check out the Ultimate Ice Cream Maker Review.
Some of the best machines I tested might be less pricey than you think!

How To Make Ice Cream Without A Machine
Ingredients
- 1½ cups milk
- 1½ cups heavy cream
- ⅔ cup sugar
- 1 tablespoon vanilla extract
- ⅛ teaspoon kosher salt
Instructions
- Stir together your ice cream mixture and pour it into an 8-10 inch square baking pan.
- FIRST FREEZE: Place it in the freezer for 90 minutes. Remove from the freezer and whisk the mixture, scraping the sides of the pan and breaking up any frozen chunks. Return the pan to the freezer and continue freezing.
- SECOND FREEZE: Check it again after 45 minutes. Remove from the freezer and whisk the mixture, scraping the sides of the pan well. Use a sturdy whisk to whip the mixture a bit as it begins to freeze. Make sure you're scraping the edges completely every time. Return to the freezer as quickly as possible after whisking the mixture each time.
- ADDITIONAL FREEZING STEPS: Continue freezing the mixture, checking it again after 30 minutes. Remove from the freezer and whisk the mixture, scraping the sides of the pan well. Use a sturdy whisk to whip the mixture a bit as it begins to freeze. Make sure you're scraping the edges completely every time. Return to the freezer as quickly as possible after whisking the mixture. Repeat this process 2 more times, every 30 minutes. After a couple of hours, it should be thickening to a slushy soft-serve consistency.
- Continue breaking the ice cream up and stirring it for as long as you like. The longer that you whisk the ice cream and continue breaking it up as it freezes, it will create an airier or fluffier final product. Ice cream without a machine typically takes 3-4 hours to freeze to a soft-serve consistency.
Nutrition
Nutrition information is automatically calculated, so should only be used as an approximation.
{originally published 9/30/20 – recipe notes and photos updated 6/20/22}


Thank u , it was so good trying this at home
I’m glad you’re enjoying the ice cream!
does it have to be heavy whipping cream or can u use heavy cream
Either one will work, April.
My first attempt at making ice cream and I used this recipe. It is so good but it’s gone in my house after 2 of us eat a couple bowls a piece. I need to know what I need to do to get a big batch. About the size of my stand mixer bowl.
You can make ice cream in a bigger tray or just make a couple of batches at a time.
If I want to make this recipe using an ice cream maker, can I or is the recipe different ?
Same recipe either way, just pour it into your machine and process according to the manufacturer’s directions.
I have made this twice now for my family. This time we added strawberries. First time we added chocolate chip cookie dough. Will not be buying store bought ice cream anytime soon. Used homemade vanilla instead of store bought as well. This is our new go to recipe. Soooo good! Thank you for sharing this recipe!
I’m thrilled that you’re enjoying the ice cream so much, Carrie!
I made this 3 different times. 1~ice crystals.. 2~I thought the ice was from strawberries.I didn’t add. Again, crystals. 3~ After it finally froze. I pulled out a dip of it. Still ice crystals. So basically, I started adding extra heavy cream and breaking up the ice cream to mix in the heavy cream. After adding about another cup to 2 cups of heavy cream, I realize that wasn’t the issue. Too much milk. Milk shouldn’t even be in it. So replace the milk with heavy whipping cream.
You’re welcome.
I can’t even imagine what went wrong here. This is a classic ice cream ratio for ingredients and I use it in hundreds of ice cream recipes. Ice cream made with only heavy cream would likely be far too rich for most tastes. However, I’m glad you were able to come up with something that you liked. For what it’s worth, churning traditional ice cream with only heavy cream would absolutely be too fatty and result in a greasy, potentially buttery texture, rather than a smooth ice cream. Even the fanciest of premium commercial ice creams top out at 16-18% and depending on where you live, your heavy cream can be anywhere from 30-38% milkfat. And with churning that level of milkfat there’s a high probability of turning the mix into butter.
So far so good. Taste a great! Consistency on point!
I’m glad you like it!
Perfect Have not tried it yet but I will soon. I first looked at the version with an ice cream maker. But this works even better
YAY! I’m so glad this method works for you.
Can I replace the sugar in this recipe with maple syrup or honey?
Hi Megan! You can make a Maple Ice Cream using this recipe: https://barefeetinthekitchen.com/maple-ice-cream/ It’s very similar!
Once it’s completely done can I store this in something else overnight?
Definitely! Just transfer it to an airtight container and stash it in the freezer.
Can you replace the sugar with Stevia?
Many readers have left comments with their own sugar free variations, however that isn’t something that I personally do.
Can I make this if I only have 2% milk on hand? I read someone used evap milk–thoughts? Thanks in advance!
I do NOT recommend evaporated milk, but 2% will work.