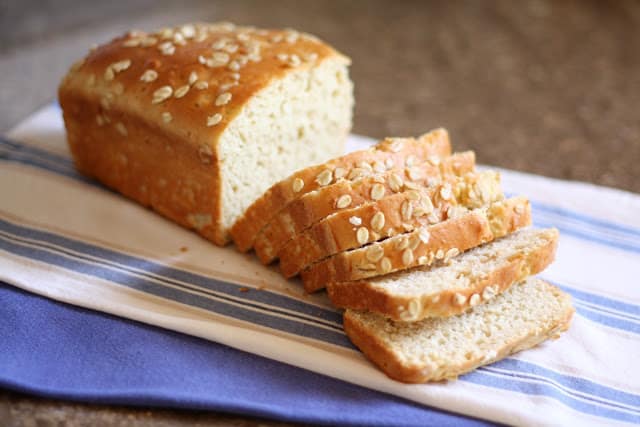
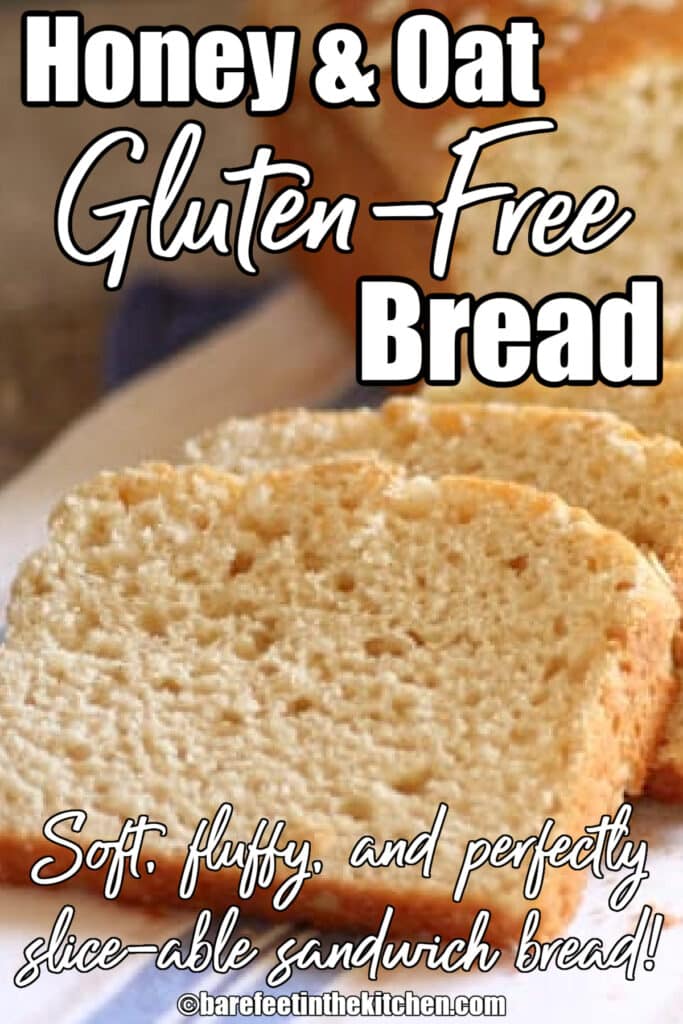
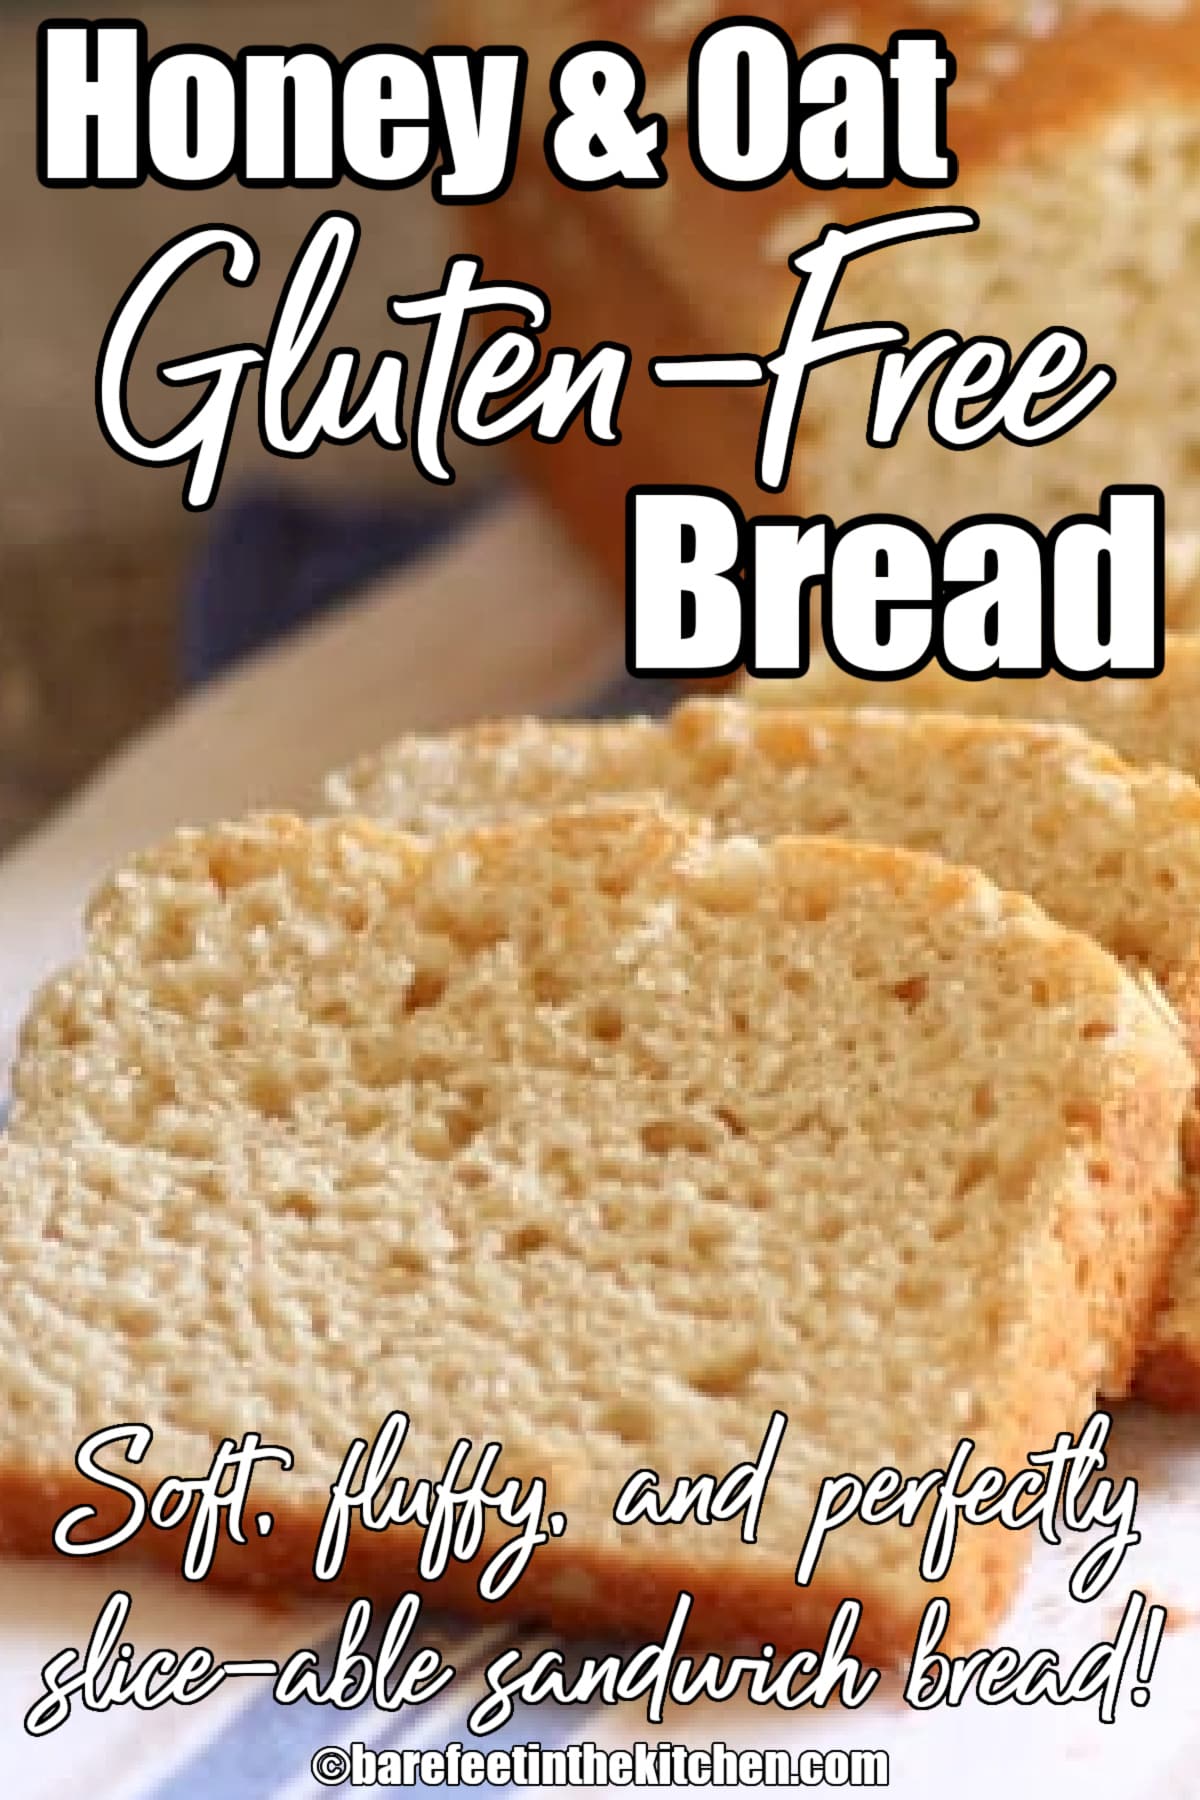
Soft, fluffy, and perfectly sliceable gluten-free sandwich bread with a rich flavor from oat flour and honey.
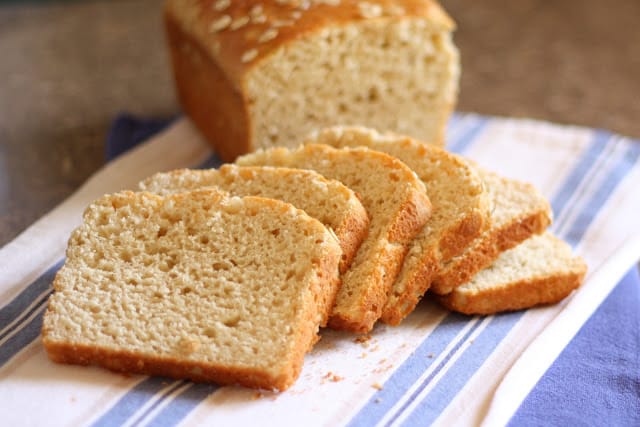
Gluten Free Oat Bread
After a few months of making and very much enjoying soft and fluffy gluten free sandwich bread, I realized I missed the deeper flavors that are typical in whole wheat sandwich bread.
So, I started playing with that recipe. (The original is closer in flavor to a traditional light wheat or white sandwich bread.)
Gluten Free Honey Oat Bread
I’ve made this recipe at least five times now and I am very excited to finally share it. This bread is perfect for sandwiches, toast, or as a snack on its own.
Try a slice toasted slathered with restaurant-style whipped butter, whipped strawberry butter, or vanilla bean whipped honey butter.
Add a smear of peach jam or apple butter for a treat that you won’t soon forget.
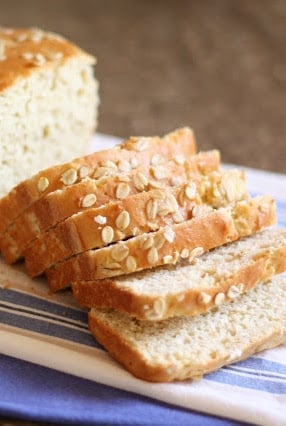
If you enjoy step-by-step photos, there are a whole lot of photos included with the original Gluten-Free Sandwich Bread post. This dough appears the same in each stage and those photos can be used for reference.
For a few more great gluten-free recipes to try, check out these Gluten Free Flour Tortillas, the Sour Cream Banana Bread, this Hershey’s Chocolate Cake, and the Best Gluten-Free White Cake.
This Homemade Nut and Seed Paleo Bread from Cotter Crunch looks like a terrific option for toast too.
If you are not in need of Gluten-Free recipes, check out a few of our favorite whole wheat bread recipes:
- Honey Whole Wheat Bread
- Cool Rise Whole Wheat Sandwich Bread
- Rosemary Bread with Whole Wheat
- Maple Oatmeal Whole Wheat Sandwich Bread
- 100% Whole Wheat Free-Form Artisan Bread
- Unbelievably Easy Brioche
Honey and Oat Gluten Free Bread
Ingredients
- 1 cup brown rice flour
- 1¼ cups oat flour make sure the flour is certified GF
- ⅔ cup potato starch
- ⅓ cup tapioca starch
- 2 teaspoons instant yeast
- 1¼ teaspoons kosher salt
- 1¼ teaspoons xanthan gum
- ¾ cup warm milk
- ⅓ cup honey
- ¼ cup soft butter
- 3 large eggs
- Optional: sprinkle of oats for the top make sure the oats are certified GF
Instructions
- Place the flours, starch, yeast, salt and xanthan gum in a mixing bowl, or the bowl of your stand mixer. Warm the butter and honey in a glass bowl or cup until the butter is melted. Whisk or stir it together and set aside.
- Using an electric mixer (hand mixer, or stand), gradually beat the warm milk into the dry ingredients. The mixture will be crumbly at first, but once all the milk is added, it’ll come together. Add the melted butter and honey to the mixing bowl and beat until thoroughly blended.
- Add the eggs, one at a time. Beat the mixture till each egg is thoroughly integrated before adding the next one. Once you’ve added all the eggs, beat the mixture at high speed for 3 minutes. This adds air to the thick batter, which helps take the place of the missing gluten as far as structure is concerned.
- At the end of 3 minutes, the batter will look like thick, heavy buttercream icing: smooth and silky. The dough will also be very sticky, and feel a bit gritty if you rub some between your fingers. Leave the batter right in the mixing bowl and cover the bowl with a light cloth or plastic wrap.
- Let the thick batter rise for 60-90 minutes. This batter won’t double in size, but it’ll definitely puff up. Gently stir the batter down. Scrape it into a lightly greased 8 1/2” x 4 1/2” loaf pan.
- Use your wet fingers, or a wet spatula or bowl scraper, to smooth the top, eliminating any “wrinkles.” The smoother your loaf is before you put it into the oven, the smoother it’ll be once it’s baked.
- Lightly sprinkle the top of the loaf with oats and press lightly into the loaf. Loosely cover the pan and let the dough rise till it barely crowns over the rim of the pan. 45 – 60 minutes, as much as 90. Towards the end of the rising time, preheat the oven to 350°F.
- Bake the bread for 25 minutes, until golden brown. Remove it from the oven, and turn it out of the pan onto a rack. Lightly brush with melted butter to help keep the crust soft, being careful not to brush off the sprinkling of oats. Slice when completely cool. Enjoy!
{originally published 10/16/12 – recipe notes and photos updated 4/15/22}



Trisha says
I’d love to try this recipe but do not have any instant yeast, only regular. Is there any way I can use the yeast I have and allow it to rest in the warm milk first?
Mary Younkin says
To substitute active dry for instant (or rapid rise) yeast: Use 25 percent more active dry. For example, if a recipe calls for 1 teaspoon of instant yeast, use 1 1/4 teaspoons of active dry. That said, it should work fine to dissolve the yeast in the milk.
Rebekah says
Thanks for sharing!
Mary Younkin says
I hope that you love the bread, Rebekah!
C. Water says
Any idea how I can adapt this for a bread machine?
Mary Younkin says
I haven’t tried that myself, but I think there are some comments on this post where people have had success with the bread machine. You’d typically stir together the ingredients and add them to the machine and let it work its magic, unfortunately, I honestly can’t help with more than that.
Jennifer says
This only bakes for 25 minutes? Is that correct or a typo
Mary Younkin says
It is accurate, but bread baking times will vary greatly depending on the time of pans being used and your oven. I always caution to test bread for doneness before removing it from the oven.
Zuri says
Okay I have actually never left a review on any food recipe ever and I bake and cook a lot. I recently had to cut out gluten from my diet for health reasons ( i love gluten and would never give it up willingly) and decided to make my own bread because the store bought GF breads are not super tasty and pretty dry. This is hands down the best gluten free -and top 5 regular – bread recipes I have ever tried. I have baked it twice now and both times it has come out perfectly. So moist and fluffy with a beautiful flavour. I ground my own brown rice flour and oat flour with a blender and it worked out! It is a little sweet for regular bread, so the second batch I reduced the honey, still amazing. None of my family members have to be gluten free and they all love this bread – it is gone before my grandmas! When school starts I am going to bake like five loaves then cut and freeze them to have throughout the semester! Thank you so much for this recipe. 🙂
Mary Younkin says
Oh, Zuri! What a beautiful compliment. Thank you so much for taking the time to share your results. Enjoy the bread!
Mary Gentle says
Finally! Finally!!!! I am so thankful and pleased! This bread turned out exactly as expected! It is quite lovely plain, even the crusty end tastes nice! No gummy “bread” with a biter crust! I am truly thrilled! I should not be this excited over bread, but here I am happy as a lark! I did not have tapioca flour so I simply added aprox 2T additional potato starch and no problems.
Mary Younkin says
I’m so glad that you are enjoying the bread, Mary!
Sarah says
Does this really only bake for 25 minutes?
Mary Younkin says
Yes, it only takes 25 minutes for me. However, DEFINITELY test for doneness and make sure it has cooked through before removing the bread from the oven, Sarah.
Tammy says
I made this tonight. I had to make a few changes as I can’t have dairy or Eggs. I used ½ oat milk & Half Coconut milk. I used a 🍌 for my egg. I added Chia Seeds, Flax Seeds, Hemp Hearts, crushed Walnuts & Almonds. As all these things are great binders. For our year, someone in my Mead group inquired about using 🍷 yeast. Lavlin EC ,1118. I have tried so many different recipes for G. F. This one was perfect. Thank you so much for sharing this.
Mary Younkin says
I’m so happy to hear that the recipe worked out with all those changes! That’s great, Tammy.
Jamie says
Hey Tammy,
I’m looking for a good GF bread recipe without dairy or eggs. Can you share the quantities of items you used to replace the dairy and eggs?
Christina V Jenkins says
How many carbs are in one slice of this bread?
Mary Younkin says
Hi Christina, that isn’t something that I track. If you copy and paste the ingredient list into a recipe calculator, it will calculate that info for you.
Andrea S. says
Really great recipe. I am so excited -it’s light and fluffy and tastes great. This is going to become a staple! I found I needed to increase the milk quite a bit to get it to stick together. Otherwise everything as in the recipe.
Mary Younkin says
I’m glad that you’re enjoying the bread, Andrea!
Christy says
How many carbs
Mary Younkin says
Hi Christy, that isn’t something that I track. You can copy and paste the ingredients into one of the online recipe calculators though and it will calculate it for you.
Vivi says
I don’t currently have Potato Starch. Is there anything else I could use?
Mary Younkin says
You can try it with additional tapioca starch in place of the potato starch. The texture will be a little different, but it should still work, Vivi.
vicky says
Great recipe – the best I’ve tried to date. This is the first gf bread recipe I’ve found that calls for 2 rises – was a little skeptical but it turned out great. Good flavor and texture. My picky gluten eating hubby liked it so much that he actually said, “wow don’t forget how to make this!” I did make some small changes–I’m allergic to the nightshade family and corn so I skipped the potato starch and used 1/2 cup of tapioca & 1/2 cup of sweet potato starch. I also reduced the honey to 1/4 cup and used sprouted oats and rice flour. It wasn’t done at 25 min, so I baked it for an additional 10 min. and that did the trick. Other than that I followed all other directions exactly. Delicious! Thank you for sharing this recipe.
Mary Younkin says
I’m thrilled that you liked the bread so much, Vicky.
Missy says
Thank you for sharing this recipe. Before my daughter had to go gluten free, we made a special oatmeal wheat bread together. This tastes EXACTLY like it. It’s even a very similar recipe with the addition of eggs (which was something I wondered if my old recipe needed to be gf successfully!) anyway, you gave us a family treasure back with this recipe. Thank you.
Mary Younkin says
I’m so happy to hear that you’re enjoying the bread, Missy!
Chuck says
I have been making this for my mother and myself for about 2 months since we are both gluten intolerant, and we have been enjoying it very much. I found that I needed a larger pan, so I am using a 9x5x3 earthenware pan and it is working well. It takes about 35 minutes to bake. I slice and freeze it when cool. Do you know how long will it keep if not refrigerated or frozen?
Mary Younkin says
I often freeze slices as well, to be sure that it won’t go bad before we can eat it all, Chuck. However, the loaf should last at least 3-4 days without any issues.
Debra Bartlett says
We love this bread!!! I’m making some to freeze for while we travel.
Question…..could I put all the dry ingredients in a sealed bag to take along so I could make it there? Wasn’t sure about the yeast mixed & not used for a few weeks.
Mary Younkin says
I think it will be fine, Debra. Happy baking!
Brenda says
I absolutely love this bread! I have tried a lot of gluten-free bread recipes and this is by far is the best one I have come across. It’s definitely going to my keeper file. Thank you for the wonderful recipe.
Mary Younkin says
I’m so very happy to hear that you love it, Brenda!
Linda says
I made the bread today, mixed the dry ingredients together last night, covered bowl with plastic wrap. Added everything together today. The batter was very runny, and it kept running over the pan during minimum rise times. When I baked it the center collapsed. I had just read on another sight to bake gluten free bread to an interior temperature of 208 degrees. So I put my oven thermostat in and continued to bake it until it reached the interior temperature suggested. It looked funny as heck, but….it was awesome. 3/4 of the loaf was gone in 45 minutes. It is snowing out today and is very cold so that may have contributed to the runny ness. But my hubby, who is very picky about what he eats, gave it a two thumbs up. So it’s a keeper recipe, even though it was a visual disaster today!😳🤣😋👍👍
Mary Younkin says
I’m so glad that it worked out, Linda. I’ve been testing for doneness that way as well with my baked goods lately. The weather has definitely been affecting things.
Rrr says
What can I use in place of egg.
Want to make it eggless, please euggest
Mary Younkin says
I’ve never made this bread without eggs.
Malkie Frank says
Scroll up. One of the first posters said they cannot have eggs and substituted with all kinds of other things.
Pam says
I just took my Loaf out of oven. Quite surprised it turned out.i had to change rice flour to corn meal I grounded fine. Only 2 eggs. Wow this bread is great! Thanks for sharing 😁
Mary Younkin says
I’m so glad you like it, Pam.