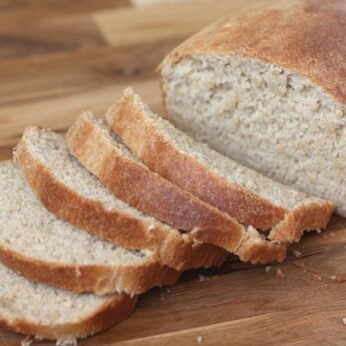
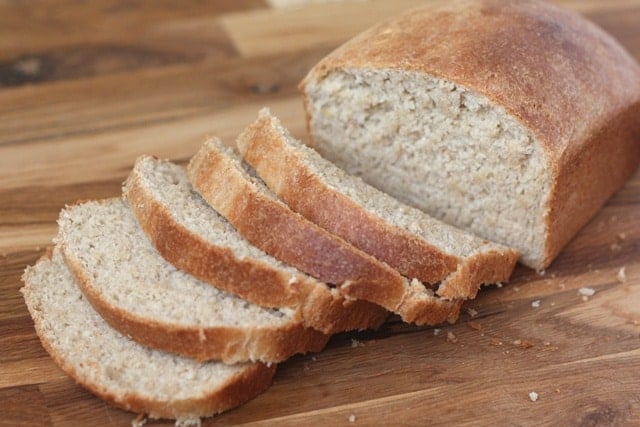
Soft, slightly sweet and buttery; this bread is perfect for sandwiches and toast. I loved it. I served this bread for dessert tonight, warm from the oven and topped with honey butter. Truly delicious!
The best part about this bread is the cool rise. Not sure what that means? 20 minutes from start to the fridge in the morning and then you can forget about it. I took the pan out of the refrigerator tonight, preheated the oven and baked it. I have the second pan waiting now, ready to bake in the morning.
Oh, how I wish I hadn’t waited so long to try this recipe. I was scared of yeast and bread baking in general for so many years. I know that this recipe seems long and complicated, but it isn’t.
Read through it and see for yourself. Basically, you stir, mix with a stand mixer (or knead) and then you just set it in the refrigerator. No rise times on the counter, no fussing with the dough, just stir, knead and refrigerate.
I found this recipe at Modern Day Ozzie and Harriet over a year and a half ago and printed it to try. Then I completely forgot about it! I stumbled onto it in one of my recipe binders earlier this week and now I am thrilled to have this in my files. I guarantee this bread will be made over and over again.
I adjusted the recipe to half whole wheat this time, because I wasn’t sure what to expect. I’m definitely going to make this again though. I’m looking forward to trying this with 100% whole wheat next time. I made this using my kitchenaid, but Marjie has full directions posted for doing this by hand or with a bread machine as well.

Cool Rise Whole Wheat Sandwich Bread
Ingredients
- 2 cups all-purpose flour
- 2 1/2 cups whole wheat flour I used freshly ground hard white wheat
- 2 tablespoons active dry yeast or 2 packets
- 2 tablespoons sugar
- 1 tablespoon kosher salt
- 1/4 cup soft butter I probably used closer to ⅓ cup because I wasn't measuring carefully
- 1 1/2 cups very warm water 110-120 degrees
- light flavored olive oil
Instructions
- Pour the water into the bowl of your stand mixer. Sprinkle the yeast over it. Add the rest of the dry ingredients and then add the butter. Turn the mixer on low speed for 10 minutes. Let the dough sit for 10 additional minutes once the mixer is finished.
- Do NOT let the dough rise in the mixing bowl for more than 10 minutes. I walked away when making this today and it rose beautifully for about 20-30 minutes. However, after I punched it down and shaped it into loaves, it didn't rise much in the pans at all - even after 6 hours in the refrigerator. The loaves still tasted fine, but they were much more dense and not at all as lovely as they were the first time I made this.
- Divide the dough in half, form into small oval shaped loaves. I like to create a round shape by tucking the edges underneath and then forming a slight oval before placing it in the pan. If you are new to baking bread, remember that while the bread will rise, it will not typically become pretty and rounded if you do not create a rounded shape initially.
- Place the dough into well buttered loaf pans and brush the surface of the dough with olive oil and brush 2 pieces of wax paper with oil as well. Cover the bread loosely with the wax paper and then loosely cover the pans with plastic wrap. Place loaves in the refrigerator until ready to bake. Let them rise for 2-24 hours. I found that mine had doubled in size about 4 hours after I put them into the refrigerator.
- When you are ready to bake the bread, remove the pans from the refrigerator and place them on the stovetop while the oven heats to 400 degrees. (375 degrees for glass pans) Once the oven is hot, or after approximately 10-15 minutes, put the loaves in the oven for 25-28 minutes.
- When the bread is done, remove from the pans immediately and cool on wire rack. Let it cool at least 15 minutes before slicing if you are going to eat it warm. I recommend letting it cool completely before slicing if possible.


Dzoli says
I am very inrigued by this cool rise:) Have to try as I make my own bread almost every day(small loaves)
Allison says
I think I will have to give this a try!! I have yet to have a positive experience baking a yeast bread – but maybe this cool rise will work for me!?
Jenn says
Now see.. this is a type of bread I can make in the summer months here in the desert!! Love the cool rising technique. Will have to try this next time for sure.
Ann@Anncoo Journal says
Mary, Thanks for sharing this recipe. The bread looks very soft… how I wish can have some for morning breakfast 🙂
Sinful Sundays says
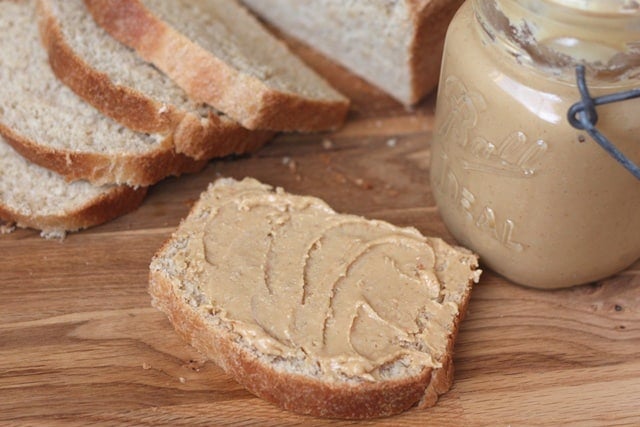
Ooo, the bread looks so soft and like the perfect catalyst for a PB&J sandwich. I must try!
geni says
Oh my gosh. This bread looks so good. And sounds very simple. Thanks for sharing!
Marjie says
I'm so glad to see you tried one of my recipes! Sometimes I get discouraged, thinking no one's reading, but you've made me very happy today. I'm glad you enjoyed this so much; it's one of our staple breads around here.
Reem | Simply Reem says
This bread looks just perfect…
Soft and perfect texture….
What a wonderful and simple recipe…
I need to try this soon.
P.S I have been away for a while, I missed couple of your recipes..
Heading to catch up. 🙂
Becki's Whole Life says
Jim has asked me a couple of times to make him some good homemade sandwich bread and I never have (poor guy:-))…I could definitely do this and I like that this is specifically for sandwiches – which is exactly what I would be looking for. Looks yummy – esp. with your nut butter…doesn't get much better than that!
clevermuffin.com says
What a great recipe – I love the idea of being able to make it before I go to work then bake when I get home. Perfect!
Zoe says
Love this idea of making bread. Fuss free and easy!
Cheah says
This is one method that I must try. Thanks for sharing!
Jeff Rasmussen says
Looks like some great sandwich bread for lunchtimes! Delicious!
Words Of Deliciousness says
Homemade bread is the best. This recipe sounds so delicious.
Joanne says
Homemade bread is one of my favorite things! I love how easy this recipe is!
Tricia @ saving room for dessert says
This sounds so easy I will have to give it a try! It also looks pretty amazing – I can smell it now 🙂
The Slow Roasted Italian says
Sounds easy and delicious! YUM! Love the PB on the bread.
Erin J says
I didn't get as much of a rise out of the loaf for this recipe, but I have a sneaking suspicion that my yeast is getting a bit too old to be as effective. The recipe still makes a soft loaf, despite mine ending up a bit more dense. (I did pay attention to the note that we shouldn't leave it unattended for more than 10 minutes for the first rise!)
During the summer months, cool rise breads are the best — doughs spend the day in the fridge and get baked in the evening after it cools down a bit in the apartment. This makes a tasty, soft loaf with minimal fuss. I know that this post is over three years old, but thanks for posting it!
Anonymous says
May 15, 2016
I read all the reviews so I decided to give it a try. In my opinion, don't waste your time. The bread didn't rise well, despite allowing to remain in the frig overnight. After baking it, it's like a rock in your stomach; dense with a lack-luster taste. I am experienced bread baker, normally using the type of bread that rises at room temp, however I do use on cool rise white bread. This was a waste of my time and ingredients and would recommend to anyone, pass this one by. I live at 9600 ft. and baking bread takes some skill, so it wasn't the baker that made an error on this recipe. Please pass this one by!!
Mary says
I have no idea what went wrong with this recipe for you. My guess is the altitude, because I've never baked at anywhere near that high an altitude. I'm sorry it turned out so poorly for you! Thanks for your feedback, I appreciate you taking the time to let me know. I've made this bread multiple times with great results.
Tori says
I made this because I needed an overnight rise bread — and it was great! Definitely going in the regular rotation. And fwiw, I’m at 4400 feet 🙂